
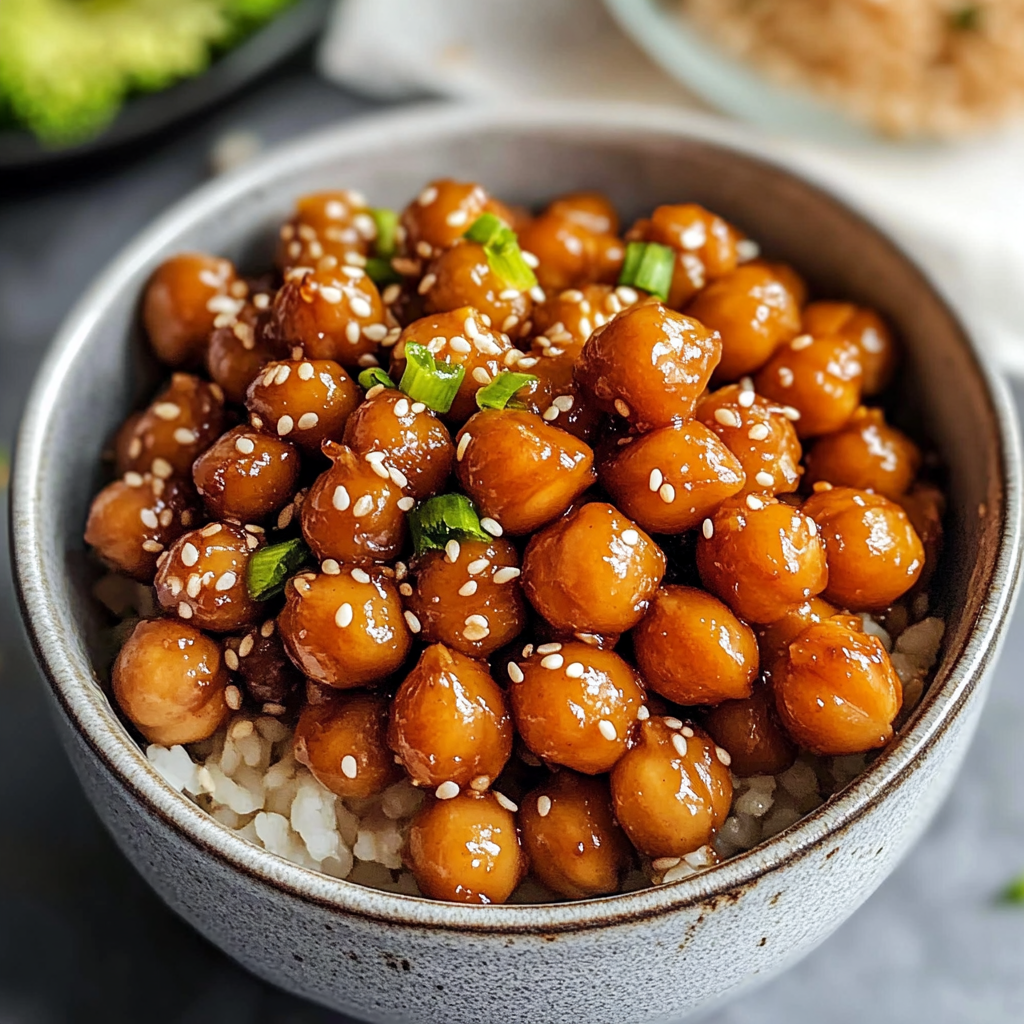
Vegan Sticky Sesame Chickpeas

Easy, flavorful, and protein-packed sesame chickpeas that are ready in 15 minutes—perfect as a speedy weeknight side or a meal-prep main.
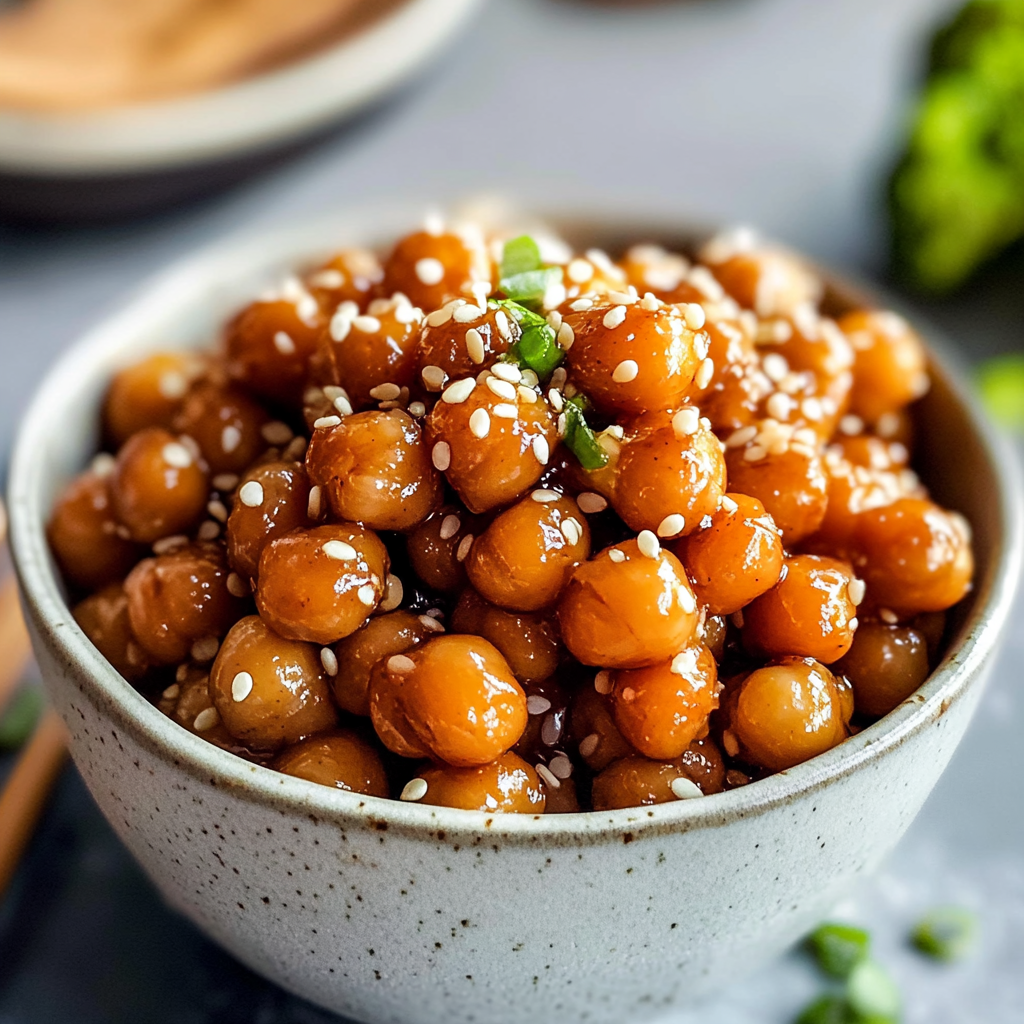
This simple, savory-sweet plate of sticky sesame chickpeas has been a weekday lifesaver in my kitchen. I first put this combination together on a hectic week when I needed something fast, nourishing, and crowd-pleasing: two cans of pantry chickpeas, a punchy sauce built on toasted sesame oil and tamari, and a little tapioca to give it that glossy cling. The result is a sticky, slightly caramelized coating that wraps each chickpea in flavor without overpowering the legume's tender bite. My partner, who thinks legumes are boring, declared it "restaurant good" after the first bite; our toddler polished off her bowl happily, which is always the true measure of success at home.
The texture is the star here: chickpeas remain slightly firm in the center with a tender exterior, while the sauce sets to a clingy glaze that dresses rice, quinoa, or steamed vegetables beautifully. Because all the steps happen in one sauté pan, cleanup is minimal and the recipe is genuinely ready in 15 minutes from start to finish—five minutes of prep, ten minutes of cooking. I often double or triple the batch for meal prep; reheated gently, the chickpeas keep their texture and taste for several days. This version is fully plant-based, dairy-free, and easy to adapt for gluten-free diets by choosing tamari.
Why You'll Love This Recipe
- Ready in about 15 minutes, making it a perfect weeknight option when time is short and hunger is high.
- Uses pantry staples—canned chickpeas, tamari or soy sauce, maple syrup—so it’s reliable even when the fridge is bare.
- Sticky, glossy sauce clings to each chickpea for great mouthfeel and balanced flavor: sweet, salty, nutty, and a hint of acid.
- High in plant protein and fiber, it’s filling on its own or pairs well with grains and steamed vegetables.
- Meal-prep friendly: makes a great packed lunch, reheats well, and keeps in the fridge for up to 4 days.
- Flexible with substitutes—tapioca, arrowroot, or cornstarch all work as thickeners for the glaze.
When I first made this, I served it over brown rice and steamed broccoli for a busy Monday night. The texture contrast—the crisp-tender broccoli against the sticky chickpeas—made it feel like a special takeout-style dinner even though it took less time than ordering in. Family members asked for it again the next week, and it's been on rotation ever since.
Ingredients
- 2 (15-ounce) cans chickpeas: Drain and rinse well to remove canning liquid. Look for BPA-free cans or choose low-sodium varieties if available. The chickpea's firmness is crucial—avoid overcooked or mushy options.
- 3–4 large garlic cloves: Fresh cloves provide pungency and depth; press or mince finely so they melt into the sauce rather than leaving large raw pieces.
- 1 tablespoon avocado or olive oil: For sautéing the garlic. Avocado oil tolerates higher heat but olive oil is fine on medium heat.
- 1 1/2 tablespoons toasted sesame oil: Adds a nutty aroma and authentic toasted flavor; use toasted, not plain sesame oil for best results.
- 1/3 cup low-sodium tamari or soy sauce: Tamari is gluten-free; choose low-sodium versions to avoid an overly salty finish.
- 3 tablespoons maple syrup: Balances the sauce with gentle sweetness—pure maple syrup is recommended for depth.
- 2 teaspoons rice vinegar: Brightens the glaze and cuts through the richness.
- 1/2 teaspoon ground ginger: Either ground or fresh grated can be used; fresh will be slightly brighter.
- 1 tablespoon tapioca starch: Creates the glossy, sticky coating; substitute with arrowroot or cornstarch 1:1 if needed.
- 1/4 cup low-sodium vegetable broth or water, divided: Part used to slurry the starch, part used in the sauce to adjust viscosity; warm broth helps the starch activate more smoothly.
- 1/2 teaspoon red pepper flakes (optional): For a subtle heat—adjust to taste.
Instructions
Prepare the chickpeas: Drain both 15-ounce cans and rinse the chickpeas under cool running water until the liquid runs clear. Shake off excess water and pat dry with a clean towel or paper towel—this helps the sauce cling rather than dilute. Set aside while you prepare the sauce (about 2–3 minutes). Sauté the aromatics: Heat 1 tablespoon of avocado or olive oil in a medium nonstick or stainless-steel sauté pan over medium heat. Add 3–4 finely minced garlic cloves (use a garlic press for the most even distribution). Cook, stirring constantly, until the garlic is very fragrant and just beginning to color, about 45–60 seconds; avoid browning, which will turn the flavor bitter. Mix the starch slurry: In a small bowl combine 1 tablespoon tapioca starch with 2 tablespoons of the vegetable broth (from the 1/4 cup) and whisk until completely smooth and lump-free. This slurry will thicken quickly once heated, so have it ready alongside the pan. Build the sauce: Add 1/3 cup low-sodium tamari, 1 1/2 tablespoons toasted sesame oil, 3 tablespoons maple syrup, 2 teaspoons rice vinegar, 1/2 teaspoon ground ginger, and the remaining 2 tablespoons vegetable broth into the pan with the garlic. Whisk to combine and bring to a gentle simmer so the flavors meld. Taste and adjust: a splash more vinegar if you want brighter acidity; a pinch more maple if you prefer sweeter. Thicken and coat: Stir the tapioca slurry into the simmering sauce. Once bubbles appear, add the chickpeas and stir thoroughly to coat. Reduce heat to low and cook, stirring occasionally, until the liquid reduces and the sauce turns glossy and clingy—about 4–6 minutes. If the sauce doesn’t thicken after 10 minutes, stir in an additional 2 teaspoons of arrowroot or tapioca and continue to cook a minute more. Rest and serve: Remove the pan from heat and let the chickpeas sit for 2–3 minutes to absorb the sauce—this intensifies flavor and helps the glaze set. Finish with a sprinkle of red pepper flakes if using and serve over steamed broccoli, rice, or quinoa.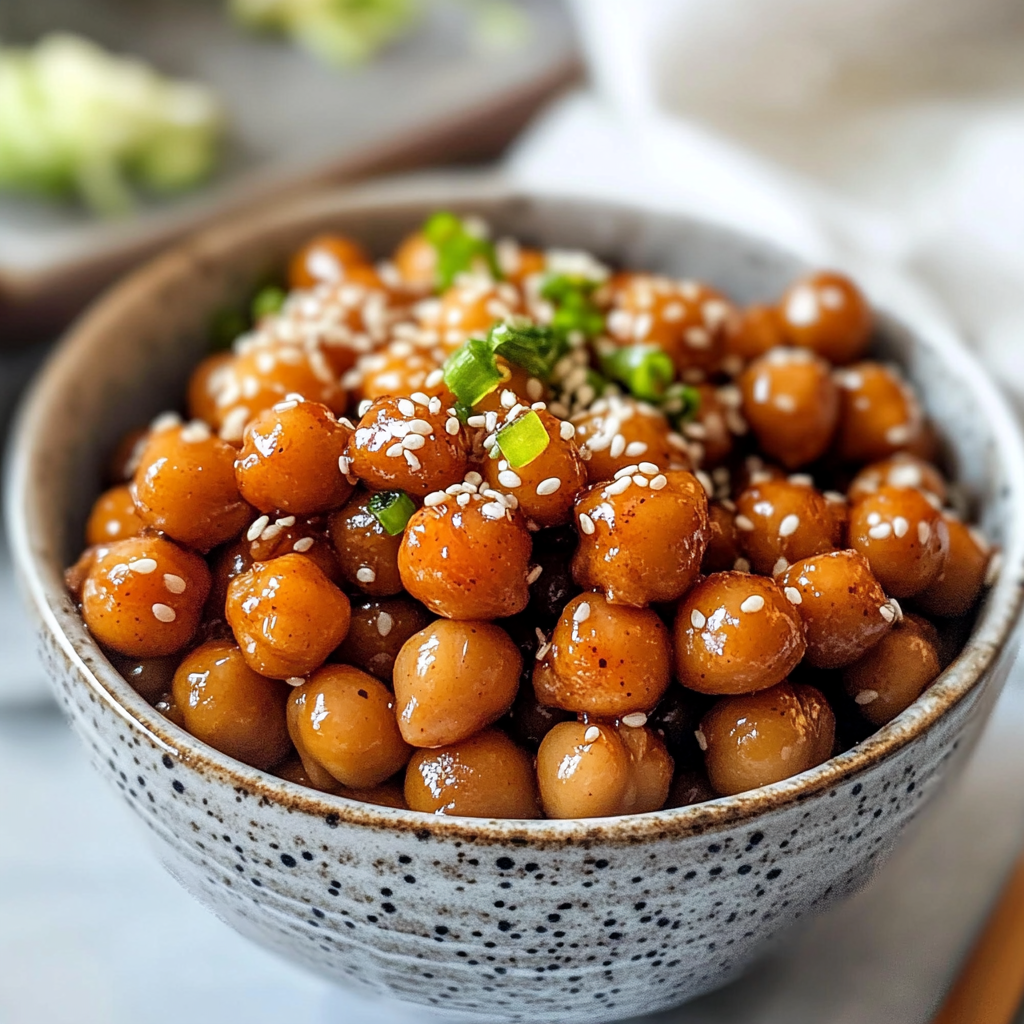
You Must Know
- The final texture should be glossy and clingy; overcooking will dry the chickpeas, undercooking will leave the sauce runny.
- This keeps in the refrigerator for up to 4 days in an airtight container, and freezes well for up to 3 months.
- Use low-sodium tamari to control salt—regular soy sauce can make this overly salty.
- Swap tapioca for arrowroot or cornstarch at a 1:1 ratio if needed; tapioca gives the glossiest finish.
- Per serving: about 321 kcal, high in fiber and plant protein—great for vegetarian meal plans.
My favorite aspect is how forgiving this dish is. I’ve accidentally tossed in a little extra maple or used too much garlic and the balance always finds itself during the gentle simmer. It’s been served at casual family dinners, packed into weekday lunches, and even as part of a mezze board with pickled vegetables—each time it’s been a hit. A quick squeeze of citrus at the end can brighten it unexpectedly and is a trick I reach for when the sauce feels too sweet.
Storage Tips
Store cooled leftovers in a shallow, airtight container and refrigerate within two hours of cooking. Properly sealed, the chickpeas will keep for up to four days. For longer storage, portion into freezer-safe containers or bags and freeze for up to three months; thaw overnight in the fridge and reheat gently on the stovetop with a splash of water or broth to revive the sauce. Avoid microwaving on high as it can dry the glaze; instead reheat over low to medium heat, stirring frequently.
Ingredient Substitutions
If you don’t have tapioca starch, use arrowroot or cornstarch 1:1—note that cornstarch can break down if overcooked, so add at the end and cook briefly. Swap maple syrup for brown sugar, honey (not vegan), or coconut sugar; reduce quantity slightly with denser sugars. For gluten-free needs, use tamari. If you prefer a smokier flavor, add a teaspoon of toasted sesame seeds at the end or a splash of liquid smoke for depth.
Serving Suggestions
Serve over steamed rice, farro, or quinoa for a complete meal; pair with roasted or steamed broccoli, bok choy, or a fresh cabbage slaw to add crunch and brightness. Garnish with sliced scallions, toasted sesame seeds, and a wedge of lime for acidity. For a heartier plate, add sautéed mushrooms or tempeh; for a lighter bowl, pile the chickpeas on top of greens and drizzle with extra sesame oil.
Cultural Background
This dish is an Asian-inspired creation, drawing on classic elements like toasted sesame oil, tamari (a Japanese-style soy sauce), and rice vinegar for balance. While not a traditional recipe from a single region, it uses techniques and flavors common across East and Southeast Asian home cooking—quick stove-top sauces, toasted nutty oils, and a balance of salty, sweet, and acidic notes. The sticky glaze is reminiscent of sauces used on tofu or tempeh in many modern fusion kitchens.
Meal Prep Tips
For efficient meal prep, make a double batch: portion into individual containers with a base of rice or quinoa and a side of steamed vegetables. Keep sauces and garnishes separate if you anticipate several days of storage to preserve texture—add toasted sesame seeds and scallions just before serving. Reheat on the stovetop over low heat with a tablespoon of water or broth per serving to refresh the glaze without drying the chickpeas.
These sticky sesame chickpeas are one of those dependable staples that make weekday dinners less stressful and leftovers something to look forward to. Whether you’re feeding a family or packing lunches for the week, this recipe rewards small effort with big flavor—give it a try and make it your own.
Pro Tips
Pat the chickpeas dry after rinsing to help the sauce adhere and reduce dilution.
Use a garlic press or very fine mince so the garlic integrates into the sauce without large raw pieces.
If reheating, add a tablespoon of water or broth per serving to revive the glaze and avoid drying.
Taste the sauce before adding chickpeas and adjust acid/sweetness—a little extra rice vinegar brightens an overly sweet glaze.
This nourishing vegan sticky sesame chickpeas recipe is sure to be a staple in your kitchen. Enjoy every moist, high protein slice — it is perfect for breakfast or as a wholesome snack any time.
FAQs about Recipes
How long do leftovers keep?
Yes—store in an airtight container in the refrigerator for up to 4 days. To freeze, portion into freezer-safe containers for up to 3 months and thaw overnight before reheating.
Can this be made gluten-free?
Use tamari for gluten-free cooking; regular soy sauce will work but may be saltier. Choose low-sodium to control salt levels.
What if the sauce is too thin?
If the sauce won’t thicken, add 1–2 teaspoons more arrowroot or tapioca starch mixed with a small amount of cold water and simmer briefly until glossy.
Tags
Vegan Sticky Sesame Chickpeas
This Vegan Sticky Sesame Chickpeas recipe makes perfectly juicy, tender, and flavorful steak every time! Serve with potatoes and a side salad for an unforgettable dinner in under 30 minutes.
Instructions
Prepare chickpeas
Drain and thoroughly rinse both cans of chickpeas. Pat dry with paper towels to remove excess moisture so the sauce will cling properly.
Sauté garlic
Heat 1 tablespoon oil in a pan over medium heat. Add finely minced garlic and cook until fragrant, about 45–60 seconds, taking care not to brown.
Make starch slurry
Whisk 1 tablespoon tapioca starch with 2 tablespoons of the broth until lump-free. Set aside to avoid lumps when added to hot liquid.
Combine sauce ingredients
Add tamari, sesame oil, maple syrup, rice vinegar, ground ginger, and remaining 2 tablespoons broth to the pan. Bring to a gentle simmer and taste to adjust balance.
Thicken and coat chickpeas
Stir slurry into simmering sauce, then add chickpeas. Cook on low, stirring occasionally, until the sauce is glossy and clingy, 4–6 minutes.
Rest and serve
Remove from heat and let sit 2–3 minutes to allow flavors to concentrate. Finish with red pepper flakes if desired and serve over rice, quinoa, or with steamed vegetables.
Last Step: Please leave a rating and comment letting us know how you liked this recipe! This helps our business to thrive and continue providing free, high-quality recipes for you.
Nutrition
Did You Make This?
Leave a comment & rating below or tag
@kitchenfunwithmy3sons on social media!
Categories:
You might also like...

Sausage Dipped Pancakes Delight
Juicy breakfast sausages wrapped in pillowy golden pancakes — a cozy, crowd-pleasing morning treat served with warm maple syrup and fresh berries.

Fried Cheese Stuffed Doritos
Mozzarella sticks coated in crushed Doritos and fried until golden, crunchy, and irresistibly gooey — a crunchy, snackable twist on a classic favorite.
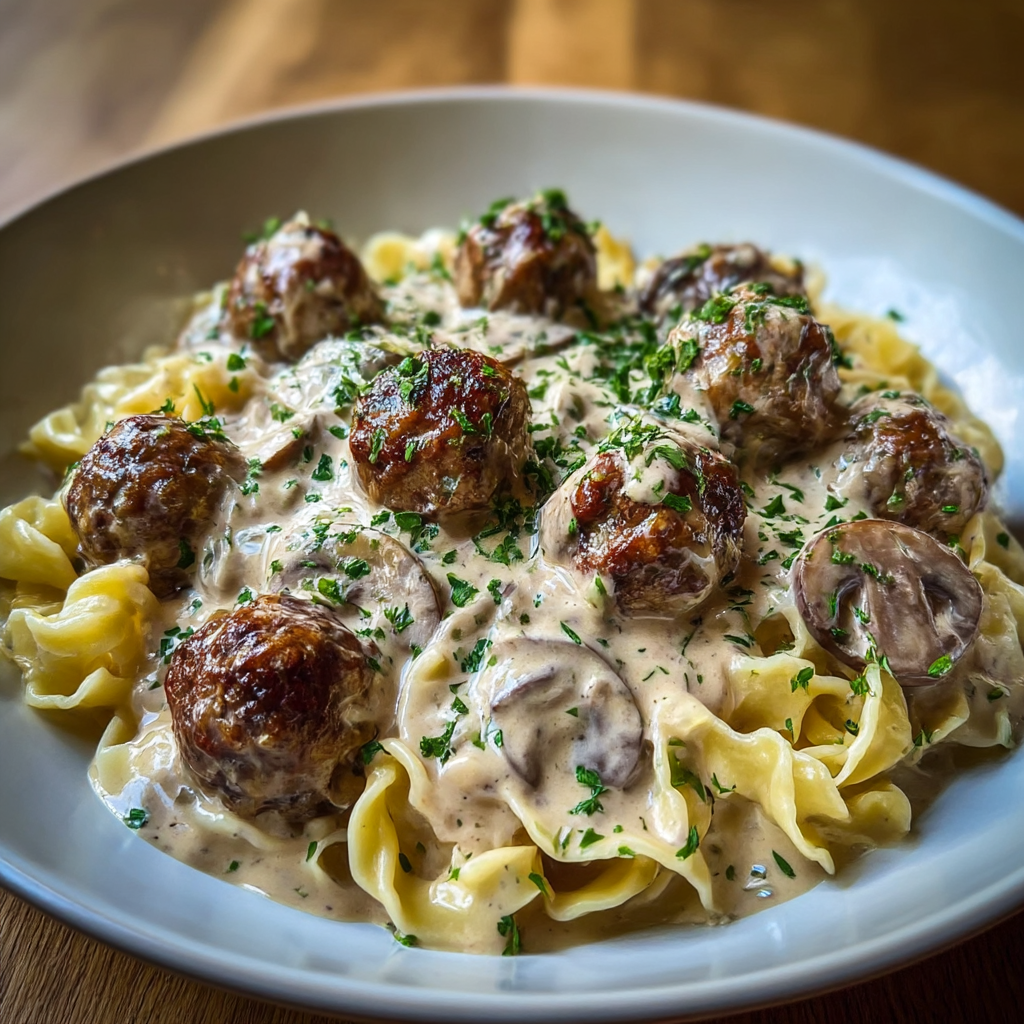
Meatball Stroganoff — Dreamy Cream Sauce
Juicy pan-seared meatballs simmered in a luscious mushroom and sour cream sauce — a comforting stovetop meal inspired by Eastern European flavors.
Did You Make This?
Leave a comment & rating below or tag @kitchenfunwithmysons on social media!
Rate This Recipe
Share This Recipe
Enjoyed this recipe? Share it with friends and family, and don't forget to leave a review!
Comments (1)
This recipe looks amazing! Can't wait to try it.
Comments are stored locally in your browser. Server comments are displayed alongside your local comments.
Hi, I'm Julia!
What's Popular

Get My 30-Minute Meals email series!
Quick and easy dinner ideas delivered to your inbox.