>>
30-MINUTE MEALS! Get the email series now →


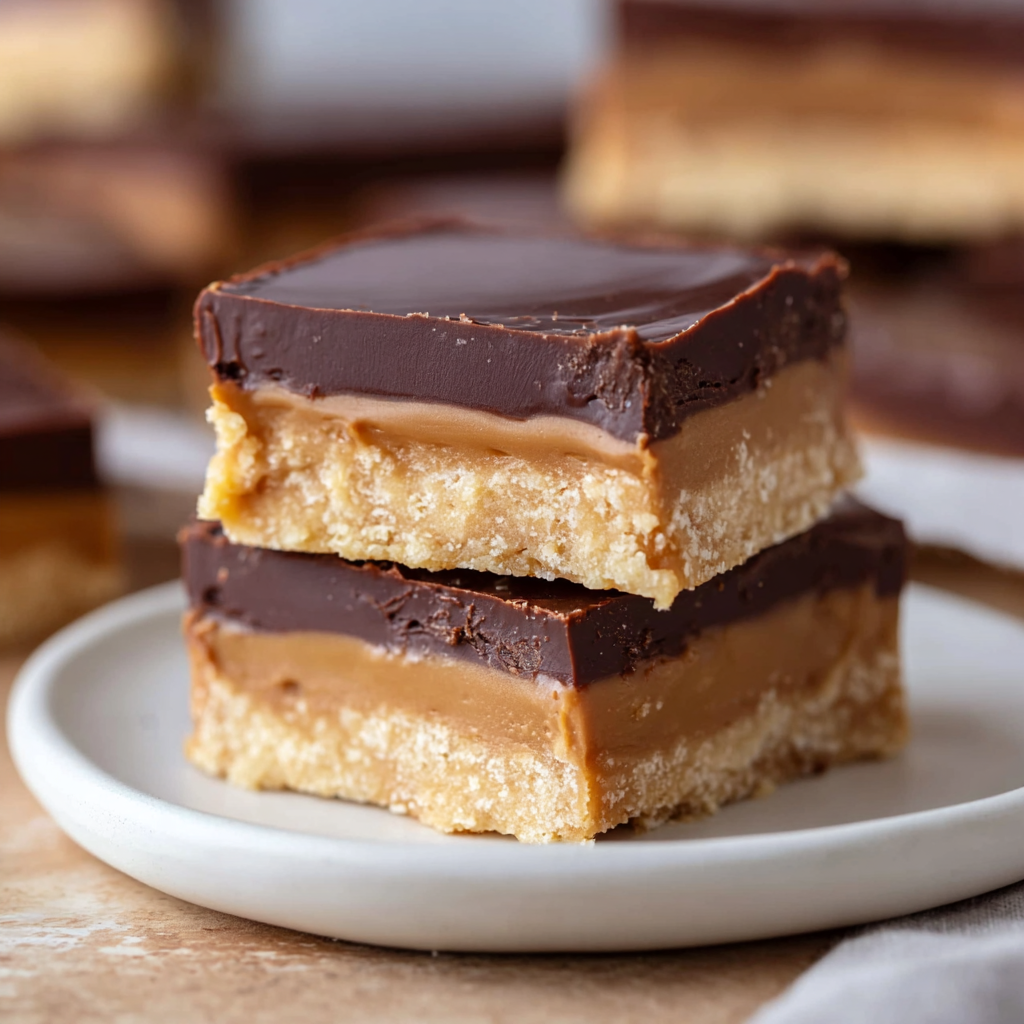
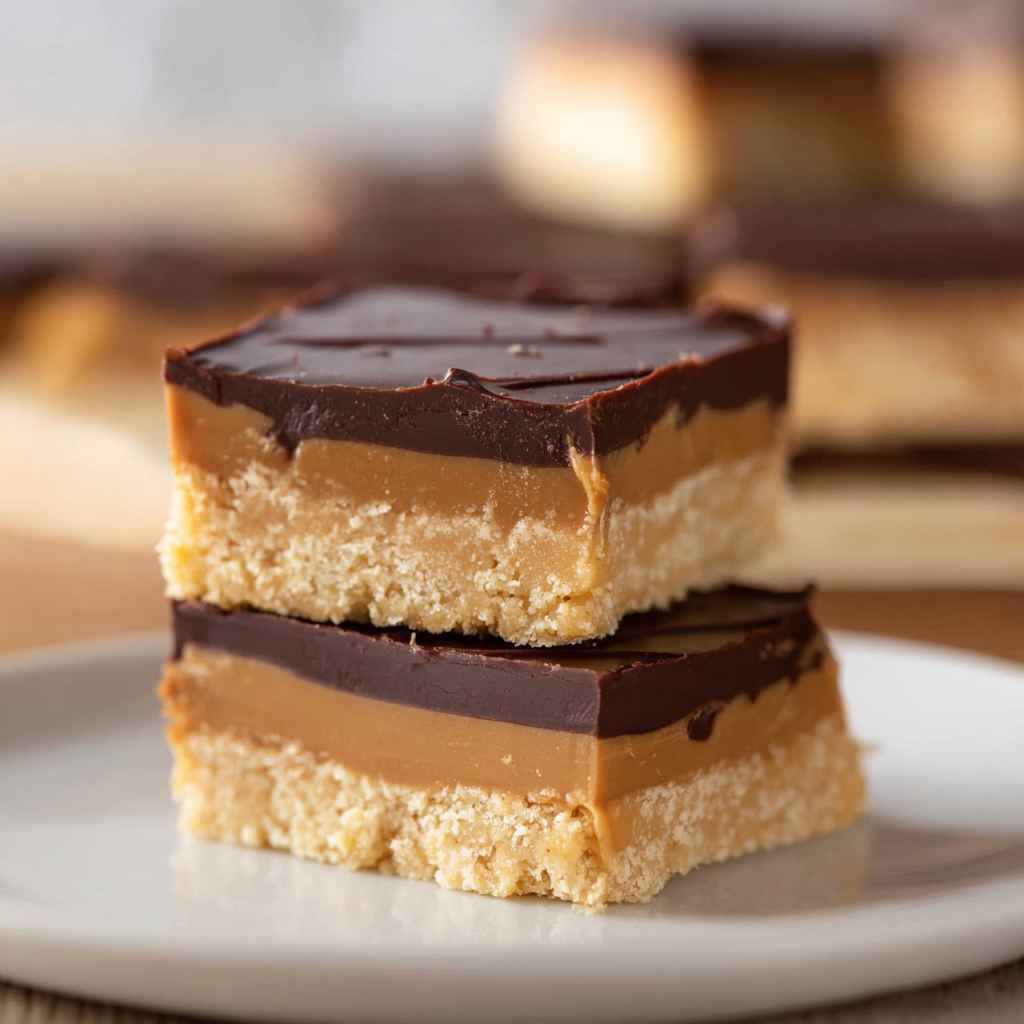
Indulgent no-bake bars with a crunchy graham cracker and peanut butter base topped with a silky chocolate layer — perfect make-ahead squares for parties and holidays.
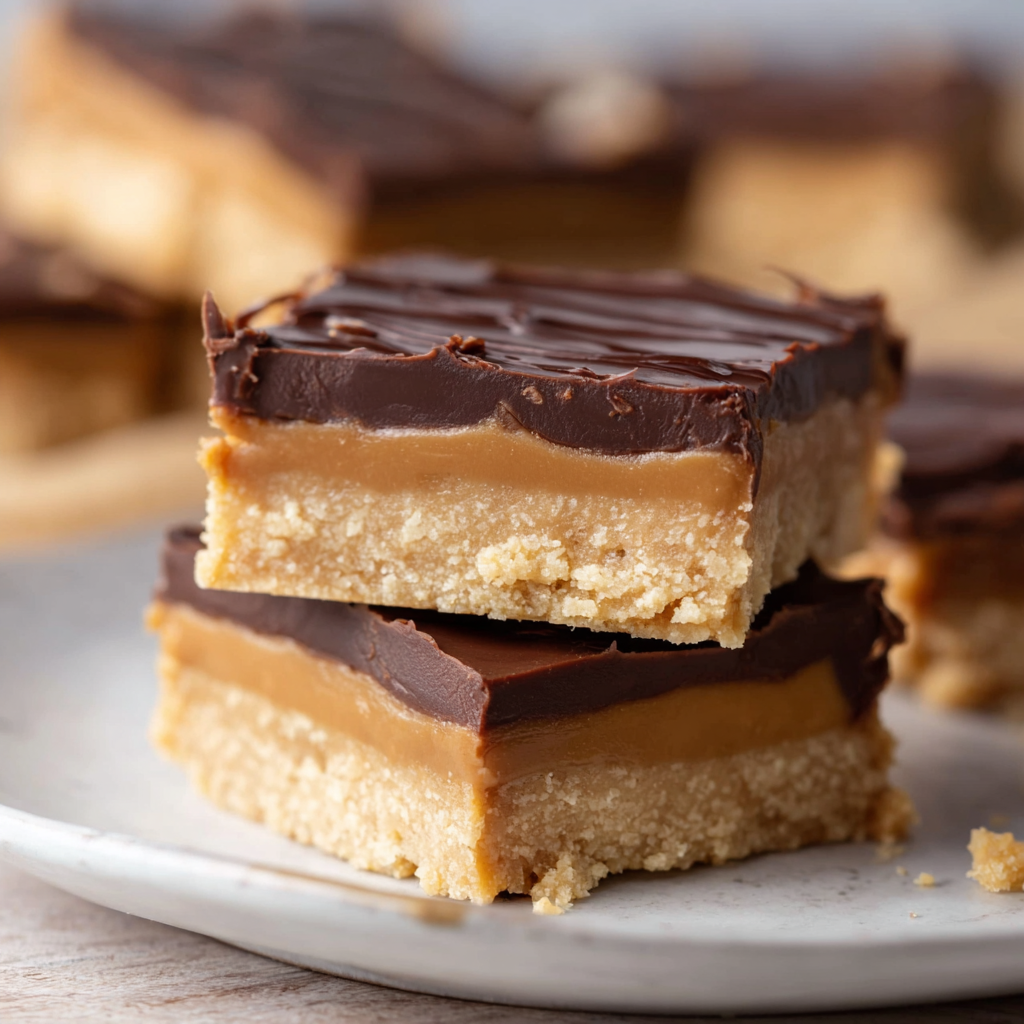
This is my go-to no-bake treat when I need something that feels indulgent but comes together in minutes. These No Bake Buckeye Bars are the kind of dessert you can prep between errands and have chilling while you finish other tasks. I first made them on a rainy afternoon when I wanted the flavor of classic buckeye candies without the fuss of rolling and dipping dozens of balls. The result: a crunchy peanut buttery base made from pulverized graham crackers, a sweet, creamy interior, and a glossy chocolate topping that snaps cleanly when sliced. The texture is a delightful contrast — slightly crumbly and crisp at the bottom, dense and peanut-buttery in the middle, and smooth chocolate on top.
I cling to this recipe for its simplicity and reliability. It’s perfect for potlucks because you can make it ahead and transport the slab, cutting it into squares at the last minute. My kids call these "the chocolate peanut butter squares" and always beg for one more. I love serving them at holiday gatherings; they pair well with strong coffee and stand up to room temperature for a reasonable amount of time. If you appreciate classic buckeye flavors but want something easier to assemble, this will likely become one of your favorites too.
I’ve learned a few tricks making these repeatedly: press the base firmly and evenly so edges don’t crumble, use quality creamy peanut butter (I prefer a natural jar for flavor but a standard commercial brand for consistency), and let the chocolate set fully in the fridge for the cleanest slices. Family and friends consistently ask for the recipe after trying these, which says everything I need to know about how satisfying they are.
What I love most is how reliably they reproduce that classic buckeye flavor in a fraction of the time. The glossy chocolate top snaps just enough, and the peanut butter layer remains luxuriously smooth. A friend once brought these to a picnic and they disappeared so fast we started calling them "the squares with no name" — now I make a double batch whenever I know people will gather.
Store squares in a single layer or with parchment between layers in an airtight container in the refrigerator for up to five days. For longer storage, freeze in a freezer-safe container separated by layers of parchment for up to three months. To serve from frozen, place the container in the refrigerator the day before, or let individual squares sit at room temperature for 15–20 minutes to soften slightly before serving. Avoid storing at warm room temperature for long periods, as the chocolate topping will soften and the base can become oily.
If you need gluten-free, swap graham crackers for a gluten-free graham style cracker or crushed gluten-free digestive biscuits using the same volume (2 cups crumbs). For a lower-sugar version, reduce powdered sugar slightly and add a pinch of salt to compensate; texture will be slightly less firm. To make dairy-free, use vegan butter and dairy-free chocolate chips; this works well though the chocolate snap may be softer. For a different nut profile, almond butter can replace peanut butter, though flavor changes and you may need to adjust sweetness.
Serve chilled on a dessert platter with a dusting of cocoa or flaky sea salt for contrast. These pair beautifully with bold coffee, espresso, or a glass of cold milk. For holiday gatherings, top squares with a small roasted peanut or drizzle with melted white chocolate for decoration. They’re also great cut smaller into bite-sized pieces for dessert bars or boxed as edible gifts wrapped in parchment and tied with twine.
The flavor profile is inspired by buckeye candies, a Midwestern American favorite named for the Ohio buckeye nut. Traditional buckeyes are peanut butter balls coated partially in chocolate to resemble the nut, and these bars capture that combination in sheet form for easier serving. This no-bake approach echoes the long American tradition of refrigerator sweets popularized in mid-20th-century home cooking, adapting candy flavors into accessible family desserts.
In summer, keep these chilled and serve straight from the refrigerator to beat the heat. For winter holidays, add a pinch of cinnamon or a splash of vanilla to the base and top the chocolate with crushed peppermint for a festive twist. For a spring picnic, try using milk chocolate chips and scatter chopped roasted salted peanuts over the top before the chocolate fully sets for extra texture and visual appeal.
These are ideal for meal prep and entertaining: make the slab up to two days ahead and store refrigerated, then slice on the day of serving. If preparing for transport, place parchment between layers and pack in a rigid container to prevent shifting. To speed up weekday dessert prep, cut into squares and portion into small containers for grab-and-go treats; they keep well and are a satisfying, portion-controlled sweet.
I hope these No Bake Buckeye Bars become a regular in your repertoire — they’re easy, nostalgic, and endlessly adaptable. Whether you bring them to a potluck, tuck a few into lunchboxes, or save them for a cozy evening at home, they deliver big flavor with very little fuss. Make them your own by swapping toppings or adding a sprinkle of salt — and enjoy the smiles that follow.
Press the peanut butter base very firmly into the pan using the bottom of a measuring cup to prevent crumbling when slicing.
For clean chocolate cuts, warm a sharp knife under hot water, dry it, then slice; wipe the blade between cuts.
If chocolate seizes when melting, add 1 teaspoon neutral oil (like vegetable oil) and stir until smooth.
This nourishing no bake buckeye bars recipe is sure to be a staple in your kitchen. Enjoy every moist, high protein slice — it is perfect for breakfast or as a wholesome snack any time.
Recipe data validation failed
Please check the recipe data format. See console for details.
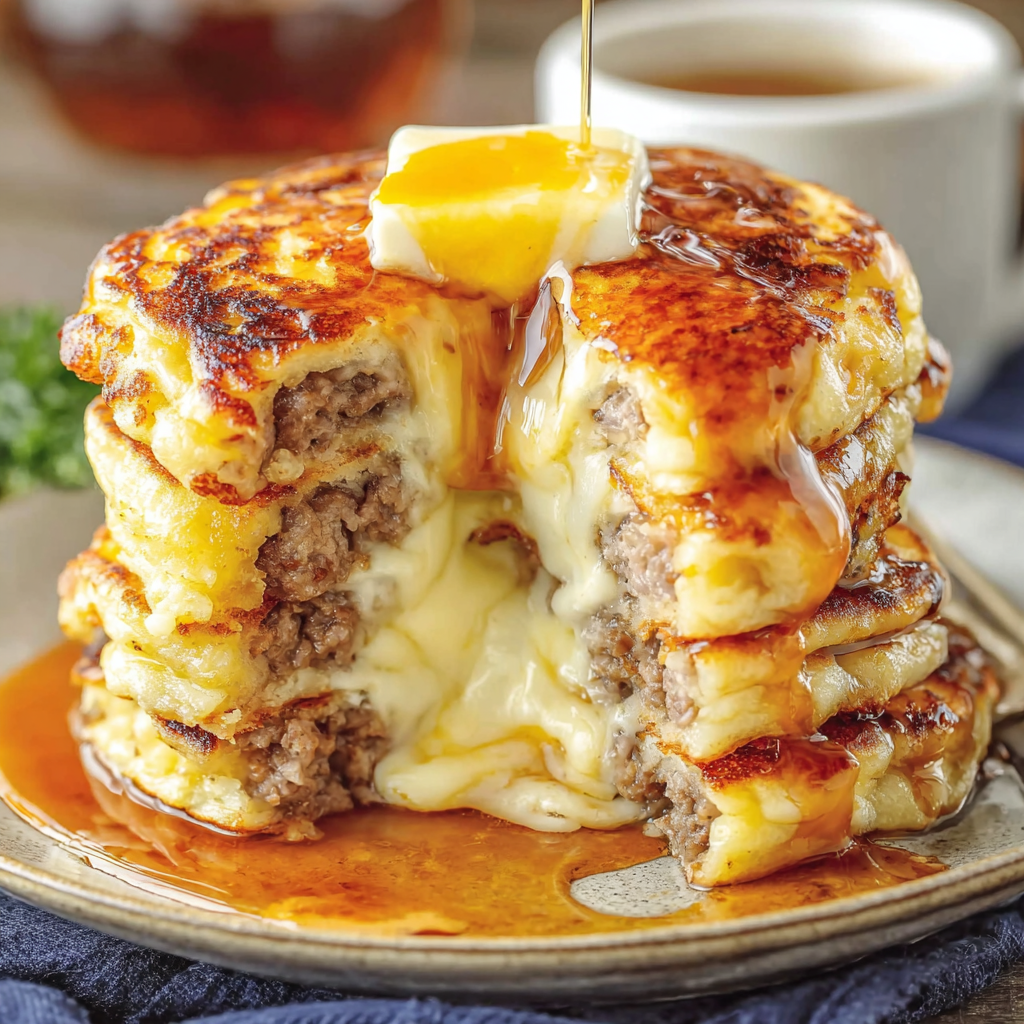
Juicy breakfast sausages wrapped in pillowy golden pancakes — a cozy, crowd-pleasing morning treat served with warm maple syrup and fresh berries.
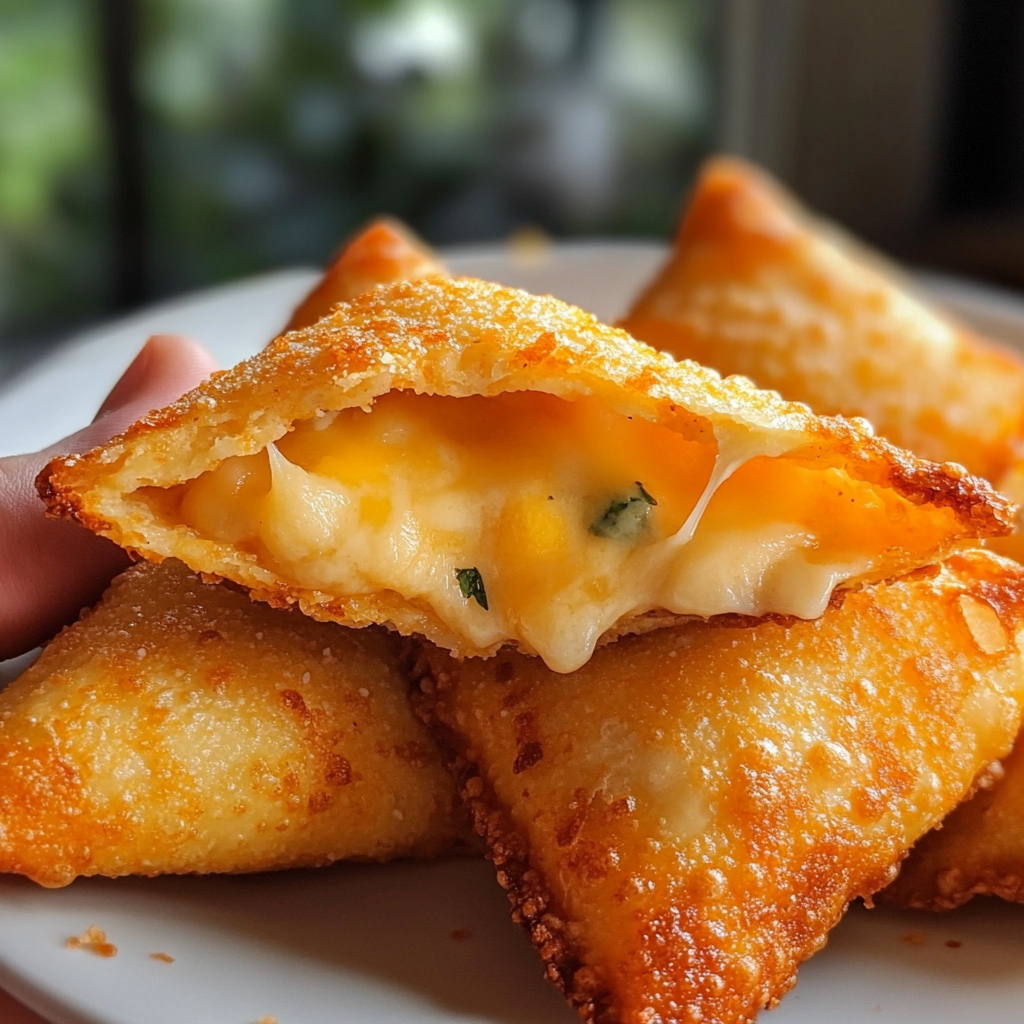
Mozzarella sticks coated in crushed Doritos and fried until golden, crunchy, and irresistibly gooey — a crunchy, snackable twist on a classic favorite.
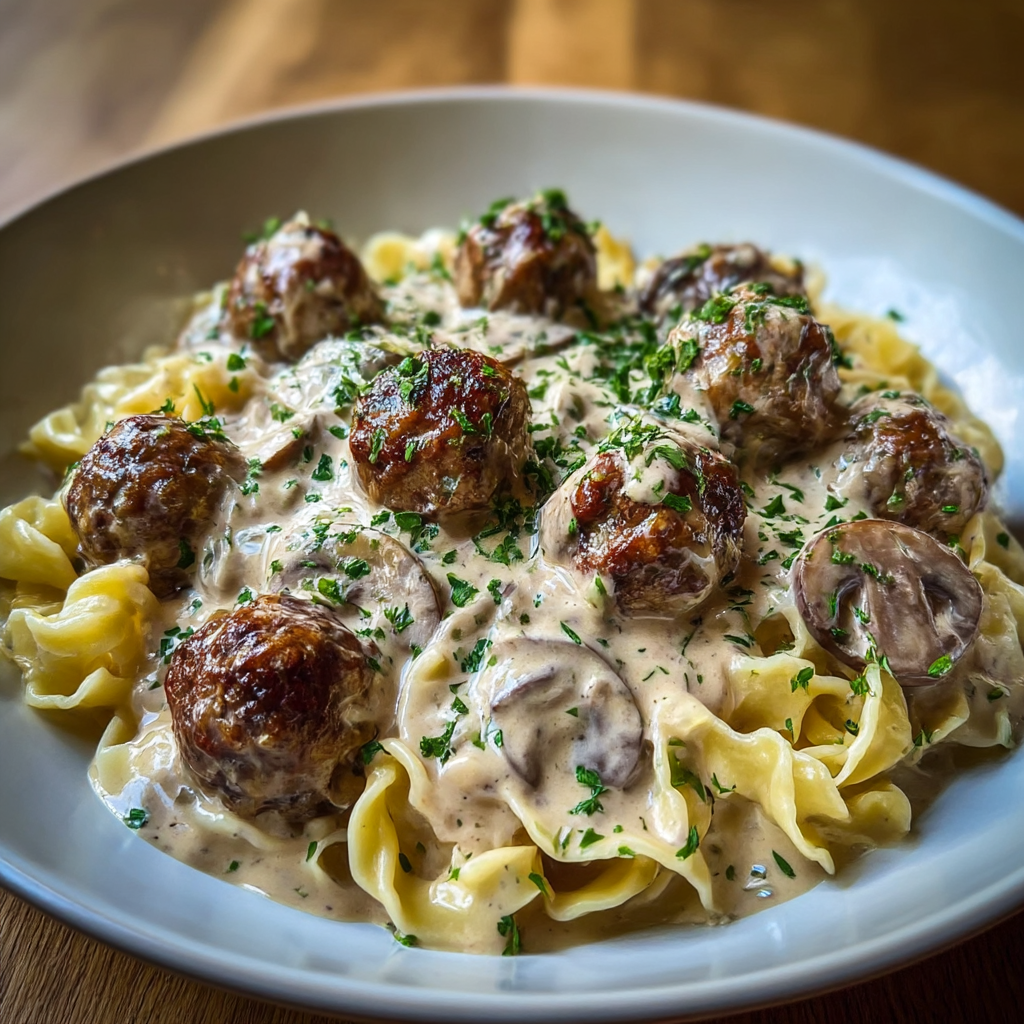
Juicy pan-seared meatballs simmered in a luscious mushroom and sour cream sauce — a comforting stovetop meal inspired by Eastern European flavors.
Leave a comment & rating below or tag @kitchenfunwithmysons on social media!
Enjoyed this recipe? Share it with friends and family, and don't forget to leave a review!
This recipe looks amazing! Can't wait to try it.
Comments are stored locally in your browser. Server comments are displayed alongside your local comments.
Quick and easy dinner ideas delivered to your inbox.