
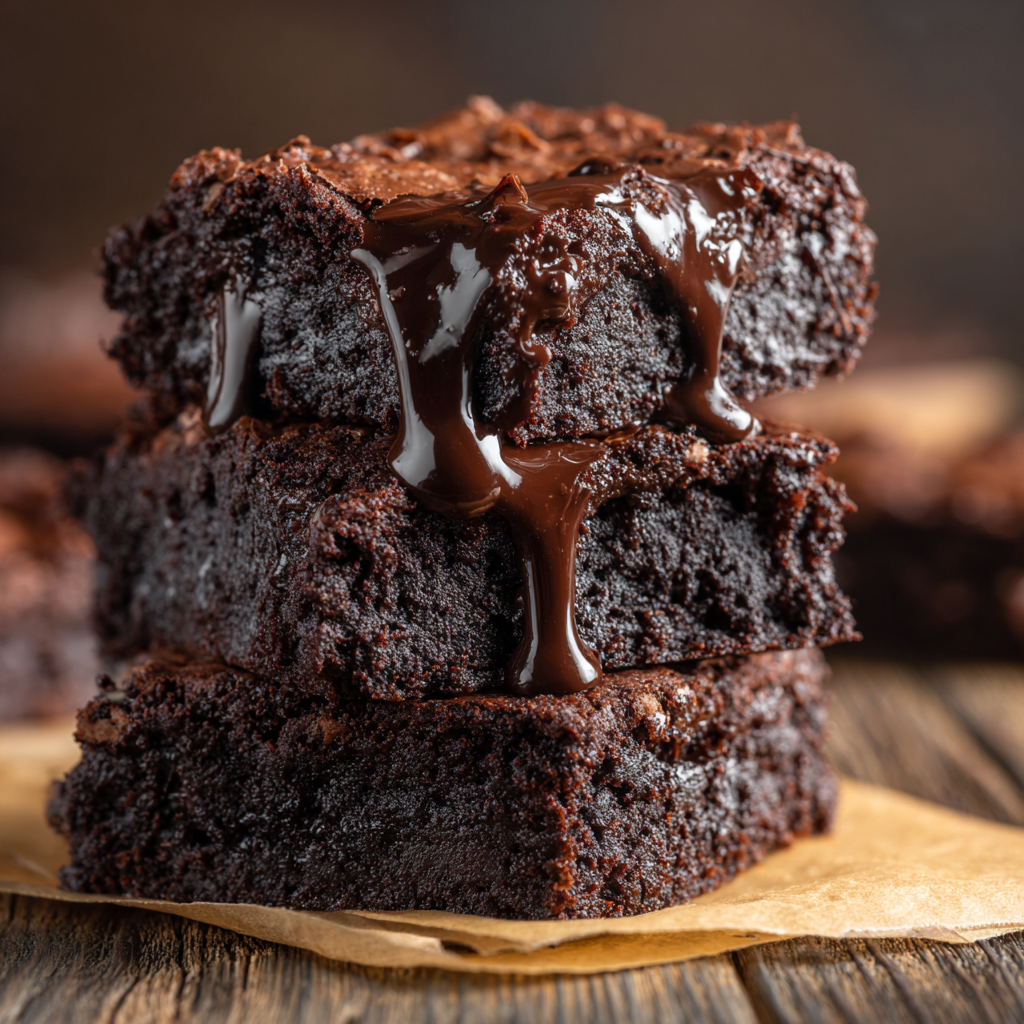
Mochi Brownies

A delightful hybrid of fudgy chocolate brownies and chewy mochi cake—rich, slightly chewy, and impossible to resist. Makes 12 generous pieces.
This mochi brownies recipe sits at the crossroads of two beloved desserts: the dense, fudgy brownie and the tender, springy mochi cake. I first discovered this combination while experimenting with sweet rice flour for a neighborhood potluck when I wanted something chocolatey but with an unexpected chew. The first batch came out sticky and mystifying, but with a few adjustments I landed on the texture my family now calls perfect: a crackly top, rich chocolate flavor, and a satisfying, elastic chew in every bite. It has become my go-to dessert for special dinners because it feels both familiar and delightfully novel.
I remember serving these at a winter get-together and watching people hover over the tray, asking what made them so unique. The secret, aside from mochiko flour and a patient cooling step, is balancing the egg and milk so the crumb sets but remains tender. These squares travel well, keep at room temperature for a couple of days, and pair beautifully with coffee or a small scoop of vanilla ice cream. If you love chocolate and enjoy playful textures, these will become part of your regular repertoire.
Why You'll Love This Recipe
- Combines the deep chocolate richness of a brownie with the chewy, slightly elastic texture of mochi for a unique mouthfeel that guests always comment on.
- Uses simple pantry staples: sweet rice flour (mochiko), cocoa powder, eggs, butter, sugar, and milk—most items are easy to source or already in your kitchen.
- Hands-on prep is minimal—about 15 minutes of active time—making it an excellent option for weeknight baking or last-minute desserts.
- Make-ahead friendly: cool completely, slice, and store at room temperature for 2 to 3 days or freeze portions for longer storage.
- Customizable: swap milk for plant-based alternatives, use natural or Dutch-process cocoa, and stir in nuts or chocolate chips for variation.
In my experience, the recipe's forgiving nature makes it perfect even for bakers who are new to mochi. Family and friends remark on the attention-grabbing texture and rich chocolate flavor. I often double the batch for gatherings because they disappear fast.
Ingredients
- Mochiko flour (1 cup): Use Koda Farms mochiko sweet rice flour or another sweet rice flour labeled mochiko. It gives that characteristic chewiness and is naturally gluten-free. Sift before measuring if clumped.
- Unsweetened cocoa powder (1/2 cup): Dutch-process cocoa deepens the chocolate flavor and blends smoothly; natural cocoa is fine if you prefer a brighter note. Brands like Valrhona or Ghirardelli yield consistent results.
- Granulated sugar (1 cup): Regular white sugar for structure and sweetness. If you prefer a subtler caramel note, substitute half with light brown sugar but expect a denser crumb.
- Baking powder (1 1/2 teaspoons): Helps the mochi set with a slight lift; ensure it is fresh for best rise.
- Unsalted butter (5 tablespoons), melted: Adds richness and helps create a fudgy mouthfeel. Use unsalted to control sodium and melt then cool slightly so it does not scramble the eggs.
- Large eggs (2): Provide structure and moisture. Room temperature eggs incorporate more easily and yield a smoother batter.
- Whole milk (12 ounces): Provides moisture and richness—about 1 1/2 cups. You can substitute full-fat plant milk but expect some change in richness.
- Vanilla extract (1 teaspoon): Brightens and rounds the chocolate flavor; pure vanilla is best.
- Chopped dark chocolate (3 tablespoons): Sprinkled on top for melty pockets. Use a 60 to 70 percent cacao bar for an intense hit.
Instructions
Preheat and prepare the pan: Preheat the oven to 350°F and line an 8 by 8-inch baking pan with parchment paper, leaving a 1-inch overhang on two opposite sides for easy lifting. Greasing the pan lightly before the parchment helps it cling and prevents slipping. Whisk dry ingredients: In a medium bowl, whisk together 1 cup mochiko flour, 1/2 cup unsweetened cocoa, 1 cup granulated sugar, and 1 1/2 teaspoons baking powder until uniformly blended and aerated. This ensures an even rise and prevents pockets of baking powder or cocoa. Combine wet ingredients: In a large bowl, whisk 5 tablespoons melted butter until slightly cooled, then add 2 large eggs, 12 ounces whole milk, and 1 teaspoon vanilla extract. Whisk briskly until the mixture is homogeneous and no streaks of egg remain—about 30 to 45 seconds. Room temperature eggs emulsify better and reduce the chance of curdling. Mix dry into wet: Pour the dry mixture into the wet ingredients and fold gently with a rubber spatula until evenly blended. The batter will be thicker than pancake batter but pourable; avoid overmixing to preserve a tender chew. Scrape the sides and fold until no flour streaks are visible. Transfer and top: Pour the batter into the prepared pan and smooth the top with an offset spatula. Sprinkle the surface evenly with 3 tablespoons chopped dark chocolate so you get melty pockets and a glossy top finish. Bake and test: Bake at 350°F for 60 to 70 minutes. The center should be set and slightly springy. A toothpick inserted into the center should come out mostly clean with a few moist crumbs. Ovens vary, so check at 60 minutes and add time as needed. For a slightly softer center, aim for 60 to 65 minutes. Cool completely: Allow the pan to cool completely on a wire rack for at least 2 hours. This resting time lets the mochi set and firm up; cutting while warm will produce sticky, misshapen squares. Use the parchment overhang to lift the mochi from the pan and slice into 12 pieces with a sharp knife wiped between cuts for clean edges.
You Must Know
- Texture note: These squares are intentionally chewy due to sweet rice flour; they will not be cake-light but pleasantly elastic.
- Storage: Store in a sealed container at room temperature for up to 2 to 3 days; refrigeration will firm them but may slightly dry the exterior.
- Freezing: Wrap individual slices in plastic and freeze up to 3 months; thaw at room temperature and warm briefly if desired.
- Milk swaps: Plant-based milks work, but full-fat options retain the richest mouthfeel; adjust sweetness if using sweetened milks.
My favorite part of these squares is how they show up on the dessert table and prompt questions about the recipe. I once brought them to a bake sale where they were labeled the first to sell out. Letting the pan cool completely is the key discipline—resist slicing too early and you will be rewarded with clean, satisfying pieces.
Storage Tips
To maintain the ideal chew and chocolate flavor, store cooled pieces in a single layer in an airtight container at room temperature for up to 2 to 3 days. If stacking is necessary, place parchment between layers to prevent sticking. For longer storage, wrap individual squares tightly in plastic wrap and place in a freezer bag; frozen pieces keep well for up to 3 months. Reheat frozen slices gently in a 300°F oven for 8 to 10 minutes or microwave briefly for 10 to 15 seconds to soften without melting completely. Avoid refrigeration if you want to preserve the soft interior; chilled mochi can become firm and slightly dry.
Ingredient Substitutions
If you don’t have whole milk, use full-fat almond, oat, or soy milk in a 1:1 ratio; the texture will be slightly different but still very good. Swap the Dutch-process cocoa for natural cocoa if that is what you have—expect a brighter, more acidic chocolate note. Butter can be replaced with neutral oil like grapeseed for a slightly lighter crumb; use 4 tablespoons plus 1 teaspoon oil in place of 5 tablespoons butter. For dairy-free butter alternatives, choose high-quality vegan sticks. If you prefer extra chocolate intensity, fold 1/4 cup chocolate chips into the batter before baking.
Serving Suggestions
Serve warm-warm or at room temperature. For a classic pairing, slice and top with a small scoop of vanilla or matcha ice cream and a dusting of cocoa. For a café-style presentation, place on a small dessert plate with a drizzle of warm salted caramel or espresso sauce. These squares also pair well with green tea to balance the sweetness. Garnish with a sprinkle of flaky sea salt if you used darker chocolate to accentuate the flavor contrast. They make a lovely finish to an intimate dinner or a fun offering at brunch as a sweet treat.

Cultural Background
These squares are a modern fusion that riffs on Japanese mochi traditions and American brownie culture. Mochi, made from glutinous rice, has been enjoyed in Japan for centuries in ceremonial and everyday contexts. Combining mochiko sweet rice flour with Western baking ingredients like cocoa and butter is a contemporary innovation that creates a hybrid dessert beloved in Japanese-American baking circles. This cross-cultural treat highlights how simple pantry ingredients can be reimagined into something new while honoring both culinary histories.
Seasonal Adaptations
Adapt these squares to the season by swapping the chocolate topping: add chopped toasted chestnuts or candied orange peel in winter for festive notes; in summer, stir in frozen raspberries at the end of mixing for bright fruit pockets. For autumn, fold 1/2 teaspoon ground cinnamon and a pinch of nutmeg into the dry mix and top with toasted pecans. For holiday gifts, wrap cooled squares individually and tie with twine for a homemade present that travels well.
Meal Prep Tips
Make a double batch and freeze half for busy weeks. To portion for lunches or snacks, cut into smaller squares and layer with parchment in an airtight container. If you plan to serve at a later event, bake a day ahead and slice on the day; this minimizes handling and preserves the fresh-cut appearance. Keep a small dish of warm water and a clean cloth nearby when slicing to wipe the knife between cuts for perfection every time.
These mochi brownies feel like a small, joyful experiment each time I bake them. They reward patience, especially in cooling, and invite creativity with toppings and pairings. Try them once, and you may find yourself making variations to fit every season and celebration.
Pro Tips
Allow the pan to cool completely before cutting to avoid sticky, misshapen slices.
Use room temperature eggs for easier incorporation and a smoother batter.
Wipe your knife between cuts with a warm, damp cloth for clean edges.
If using plant-based milk, choose full-fat options for a richer mouthfeel.
This nourishing mochi brownies recipe is sure to be a staple in your kitchen. Enjoy every moist, high protein slice — it is perfect for breakfast or as a wholesome snack any time.
Tags
Mochi Brownies
This Mochi Brownies recipe makes perfectly juicy, tender, and flavorful steak every time! Serve with potatoes and a side salad for an unforgettable dinner in under 30 minutes.
Ingredients
Dry ingredients
Wet ingredients
Mix-ins and topping
Instructions
Preheat and prepare pan
Preheat oven to 350°F. Line an 8 by 8-inch baking pan with parchment paper, leaving an overhang for easy removal. Lightly grease the parchment if desired.
Combine dry ingredients
In a medium bowl whisk together mochiko flour, cocoa powder, sugar, and baking powder until evenly blended and aerated.
Mix wet ingredients
In a large bowl whisk melted butter, eggs, milk, and vanilla until smooth and no egg streaks remain. Use room temperature eggs for best results.
Combine and pour
Add dry ingredients to the wet mixture and fold gently until evenly combined. Pour batter into prepared pan and sprinkle chopped dark chocolate on top.
Bake and cool
Bake 60 to 70 minutes at 350°F until mostly set and a toothpick comes out with a few moist crumbs. Cool completely on a wire rack before slicing into 12 pieces.
Last Step: Please leave a rating and comment letting us know how you liked this recipe! This helps our business to thrive and continue providing free, high-quality recipes for you.
Nutrition
Did You Make This?
Leave a comment & rating below or tag
@kitchenfunwithmy3sons on social media!
Categories:
You might also like...
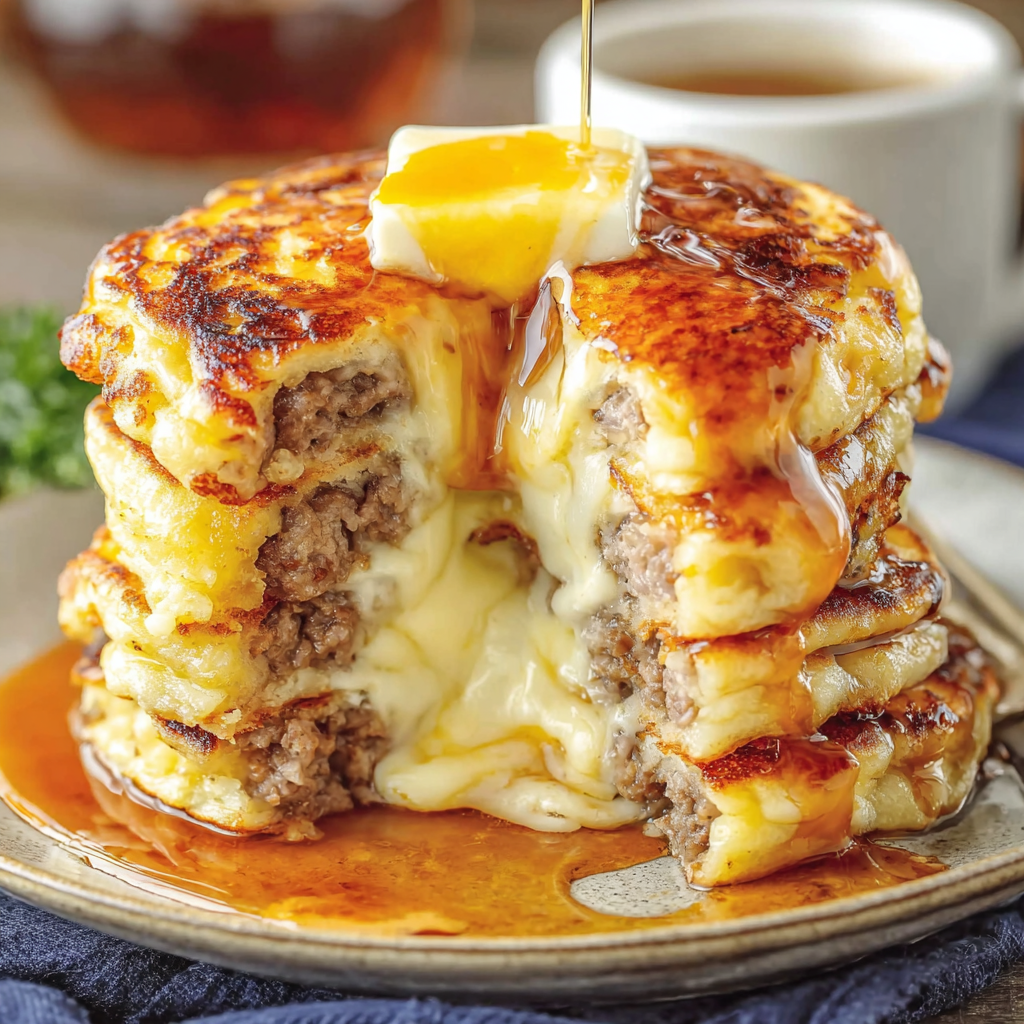
Sausage Dipped Pancakes Delight
Juicy breakfast sausages wrapped in pillowy golden pancakes — a cozy, crowd-pleasing morning treat served with warm maple syrup and fresh berries.
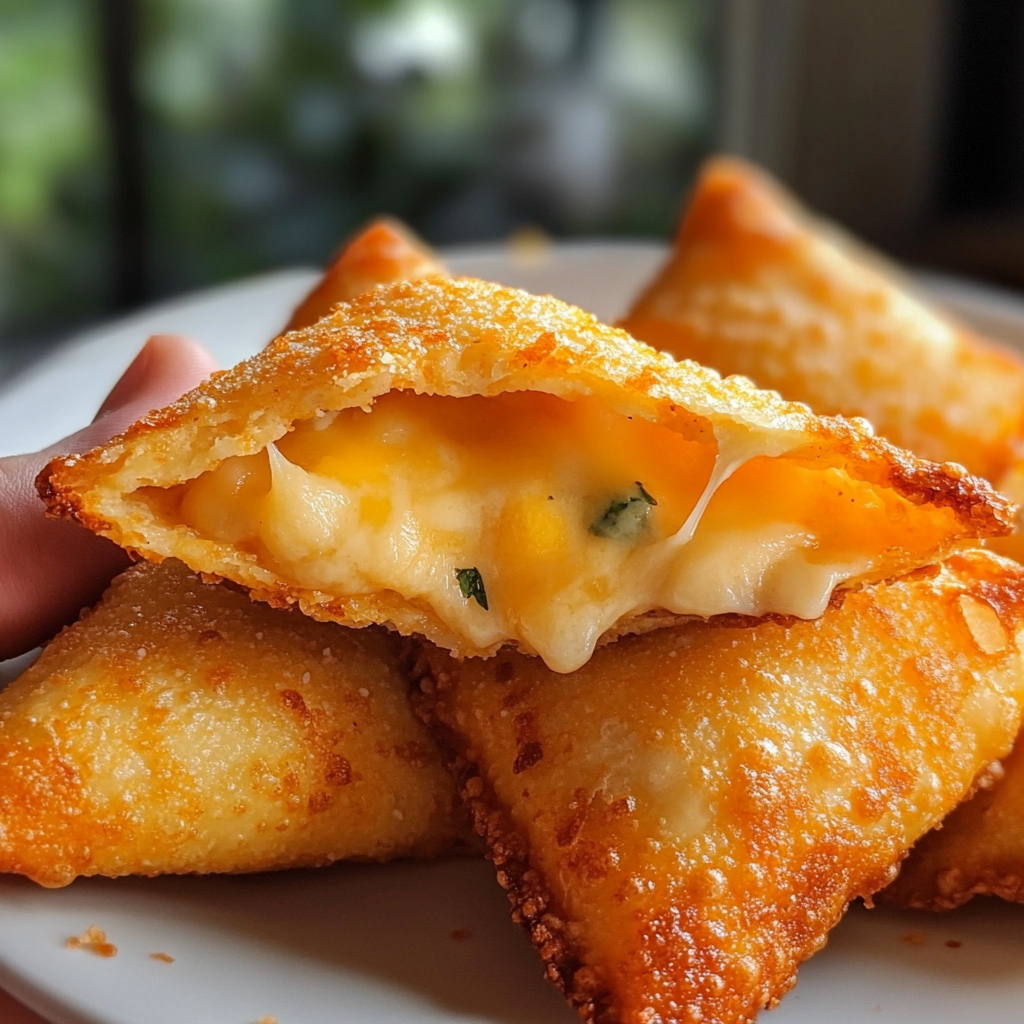
Fried Cheese Stuffed Doritos
Mozzarella sticks coated in crushed Doritos and fried until golden, crunchy, and irresistibly gooey — a crunchy, snackable twist on a classic favorite.
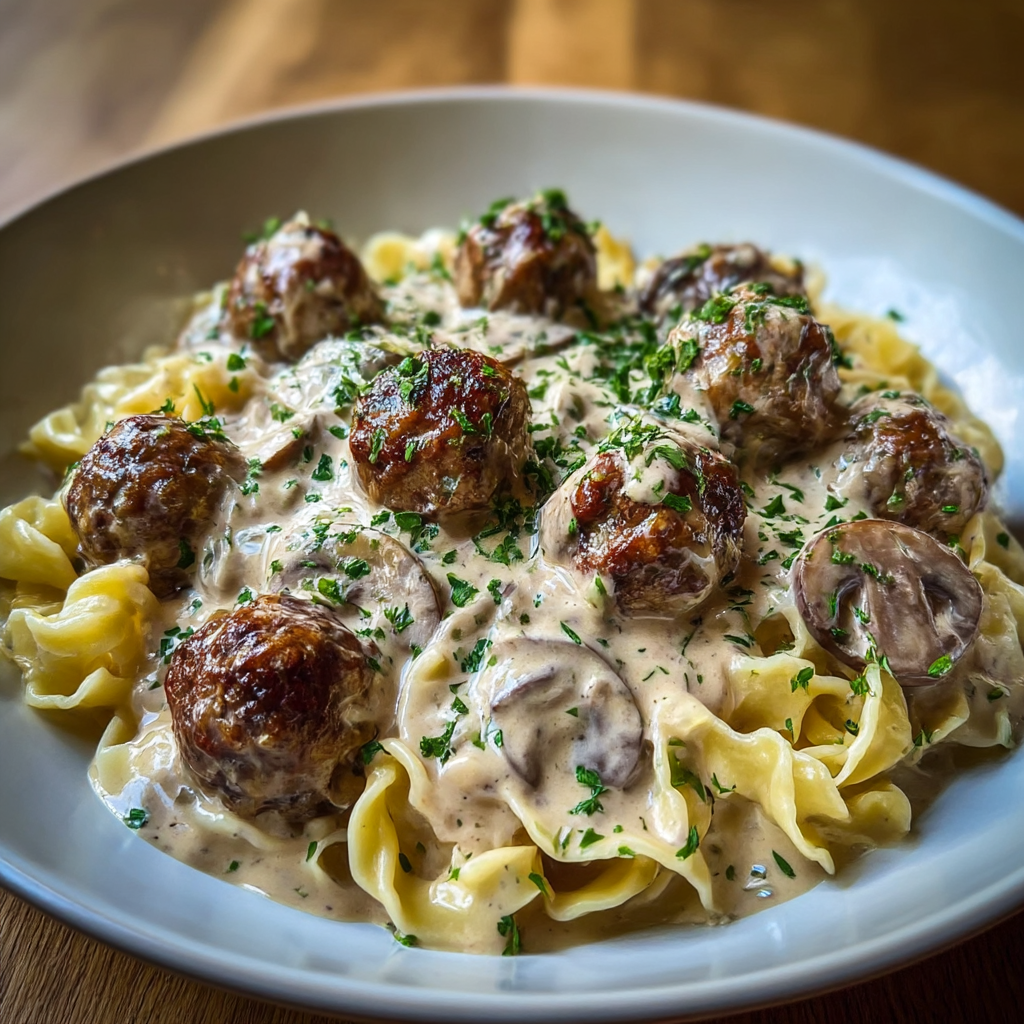
Meatball Stroganoff — Dreamy Cream Sauce
Juicy pan-seared meatballs simmered in a luscious mushroom and sour cream sauce — a comforting stovetop meal inspired by Eastern European flavors.
Did You Make This?
Leave a comment & rating below or tag @kitchenfunwithmysons on social media!
Rate This Recipe
Share This Recipe
Enjoyed this recipe? Share it with friends and family, and don't forget to leave a review!
Comments (1)
This recipe looks amazing! Can't wait to try it.
Comments are stored locally in your browser. Server comments are displayed alongside your local comments.
Hi, I'm Julia!
What's Popular

Get My 30-Minute Meals email series!
Quick and easy dinner ideas delivered to your inbox.