>>
30-MINUTE MEALS! Get the email series now →


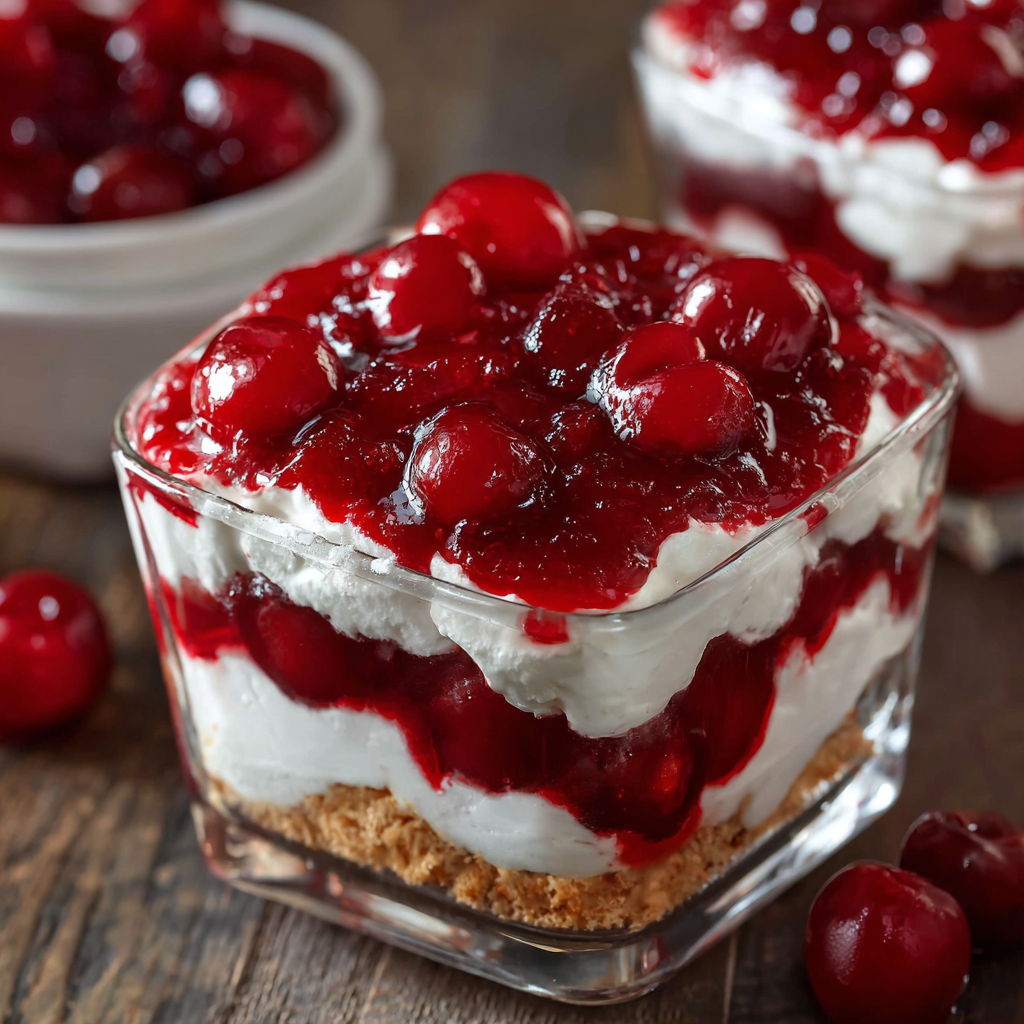
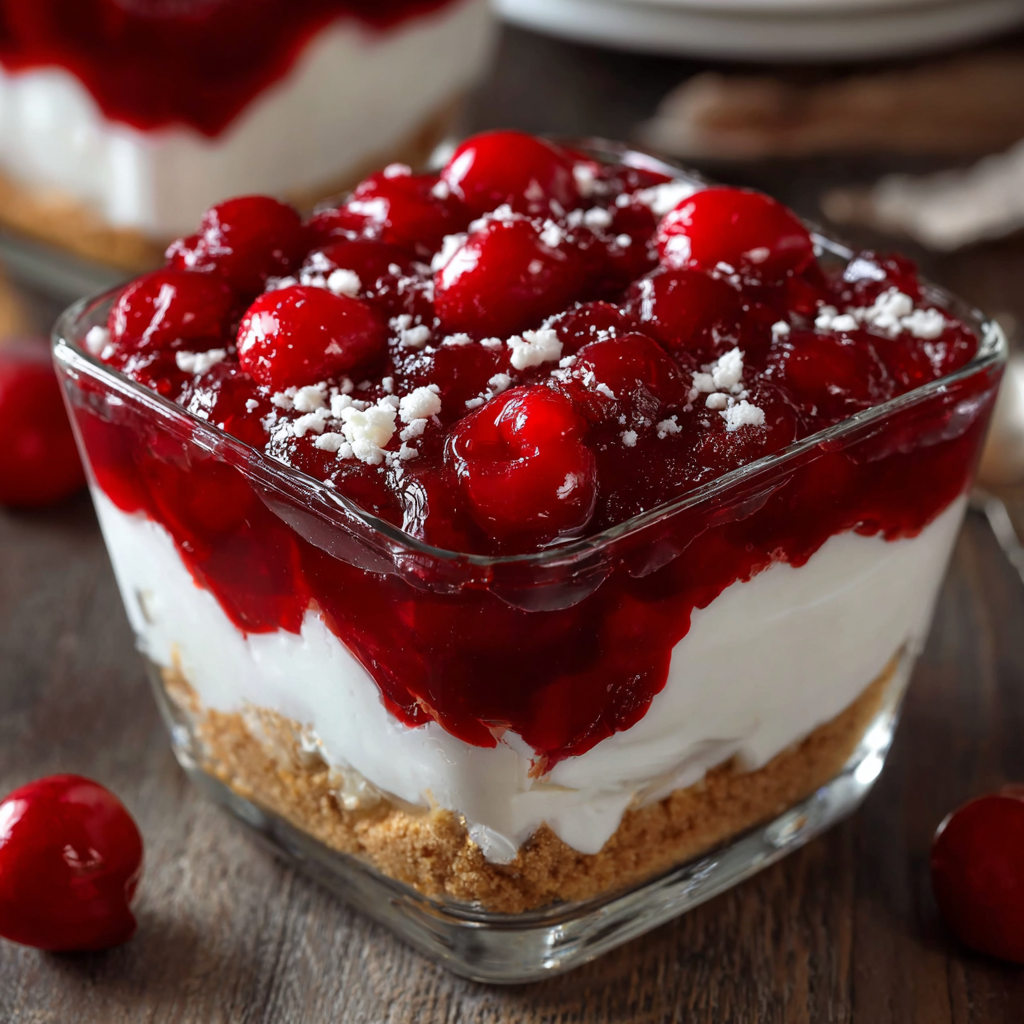
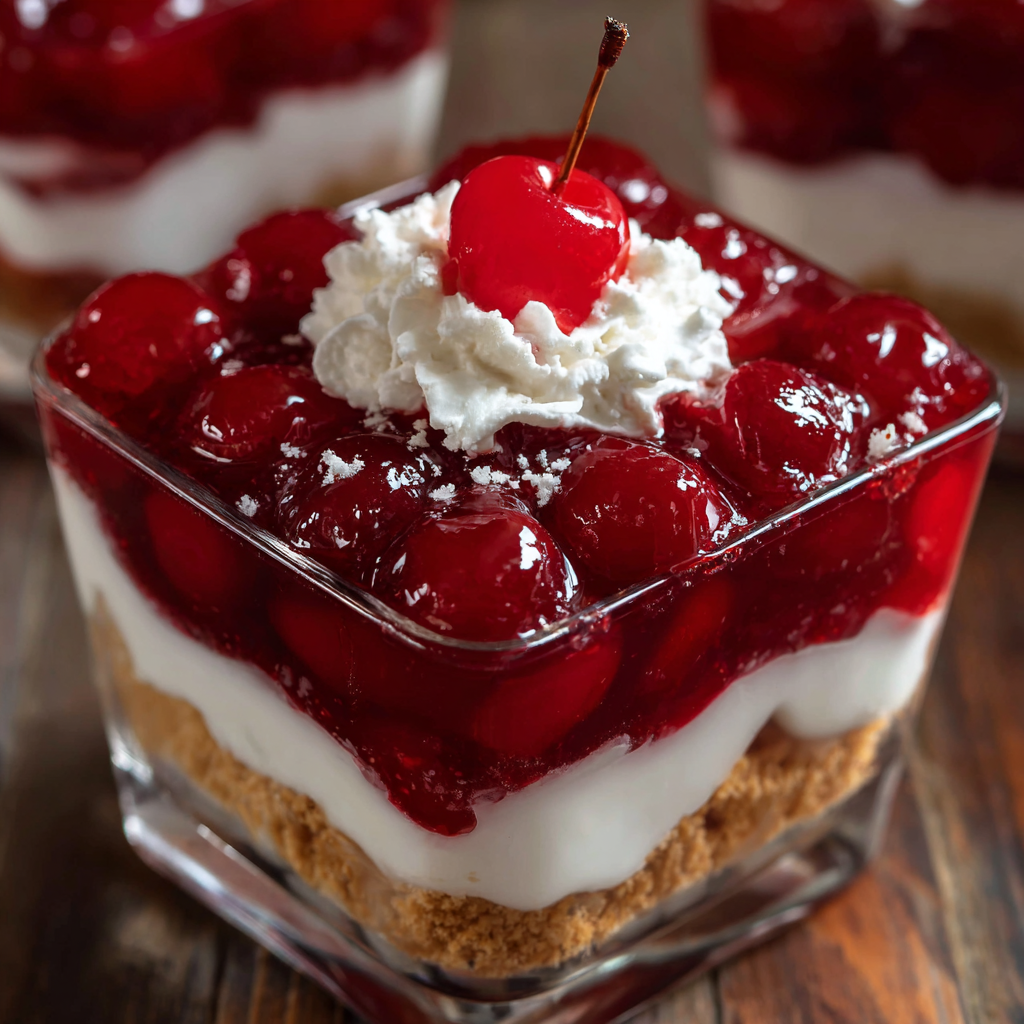
A light, no-bake layered cherry dessert with a buttery graham crust, creamy sweet filling, and bright cherry topping—ready with minimal hands-on time and big flavor.
I always bring this when I’m short on time because everyone notices it and someone inevitably asks for the recipe. My niece declared it “fancy pudding” the first time she tasted it, and that name has stuck in our family—despite its humble ingredients, it feels celebratory.
My favorite thing about this dessert is how reliably it delights a crowd without drama—no oven timing, no delicate meringues, just straightforward technique. Family members often request this for summer birthdays because it’s light enough after a big meal yet looks special on the table.
Store covered in the refrigerator for up to 72 hours; an airtight container or a sheet of plastic wrap pressed directly onto the surface prevents the cherry topping from drying. If you plan to transport it, leave it chilled right before travel and carry in a cooler bag. Reheat is unnecessary—serve cold or at cool room temperature. If you need to unmold the dessert from the pan, fill the sink with very hot water up to the sides for under a minute as a quick tip to help release the crust, then run a thin knife around the edge and invert carefully.
Swap the graham cracker crumbs for gluten-free vanilla cookies in a 1:1 cup ratio to make it gluten-free. Replace cream cheese with a plant-based cream cheese and use a dairy-free whipped topping to make a vegan-friendly version—expect a slightly different mouthfeel and reduced tang. For a less sweet filling, reduce powdered sugar to 3/4 cup and taste; the cherries add brightness that balances reduced sweetness. Fresh cherry compote can replace canned filling for a less sugary, more textured topping—use about 2 cups cooked cherries with 2–3 tablespoons sugar and a squeeze of lemon.
Serve squares with a sprig of fresh mint or a dusting of finely grated lemon zest for a bright contrast. Pair with coffee, espresso, or a late-harvest Riesling for a lovely finish. For a summer picnic, serve alongside fresh berries and shortbread cookies; at holiday gatherings, add a small scoop of vanilla gelato or a drizzle of melted semi-sweet chocolate for contrast.
Layered desserts with a crumb base and a creamy middle layer are staples in American home baking and diner culture—think of the many no-bake bars and chilled puddings that rely on a cookie crust and a whipped filling. Canned fruit toppings became popular in mid-20th-century American kitchens for their convenience and long shelf life, which made desserts like this a regular on family tables and potluck spreads.
In summer, swap the canned cherries for a fresh cherry compote or mixed berries for a lighter, seasonal feel. For winter holidays, use spiced graham crumbs (add 1/2 teaspoon cinnamon and a pinch of nutmeg) and top with a cranberry-apple compote instead of cherries to play with seasonal flavors.
Prepare the crust and filling a day ahead and store separately in the fridge; assemble the topping just before guests arrive for the freshest appearance. If you’re prepping for a party, chill the fully assembled dessert overnight and set it out 10–15 minutes before serving so the texture softens slightly for easy eating. Pack leftovers in a shallow airtight container to retain the glossy cherry layer and prevent sogginess.
Every time I make this, someone says it tastes like a nostalgic diner treat—simple, familiar, and satisfying. Make it once and you’ll find a dozen occasions to bring it back out.
Press the crust firmly with the bottom of a measuring cup to create a compact base that slices cleanly.
Warm and dry your knife between cuts for neat squares; run under hot water and wipe dry before slicing.
Softened cream cheese blends more smoothly—remove from the fridge 30 minutes before mixing.
Chill assembled dish at least 2 hours; overnight yields the best texture and easiest slicing.
This nourishing classic cherry delight recipe is sure to be a staple in your kitchen. Enjoy every moist, high protein slice — it is perfect for breakfast or as a wholesome snack any time.
Refrigerate for at least 2 hours; overnight chilling yields the cleanest slices.
Use gluten-free vanilla cookies in place of graham crackers and a dairy-free cream cheese and whipped topping to adapt.
Recipe data validation failed
Please check the recipe data format. See console for details.
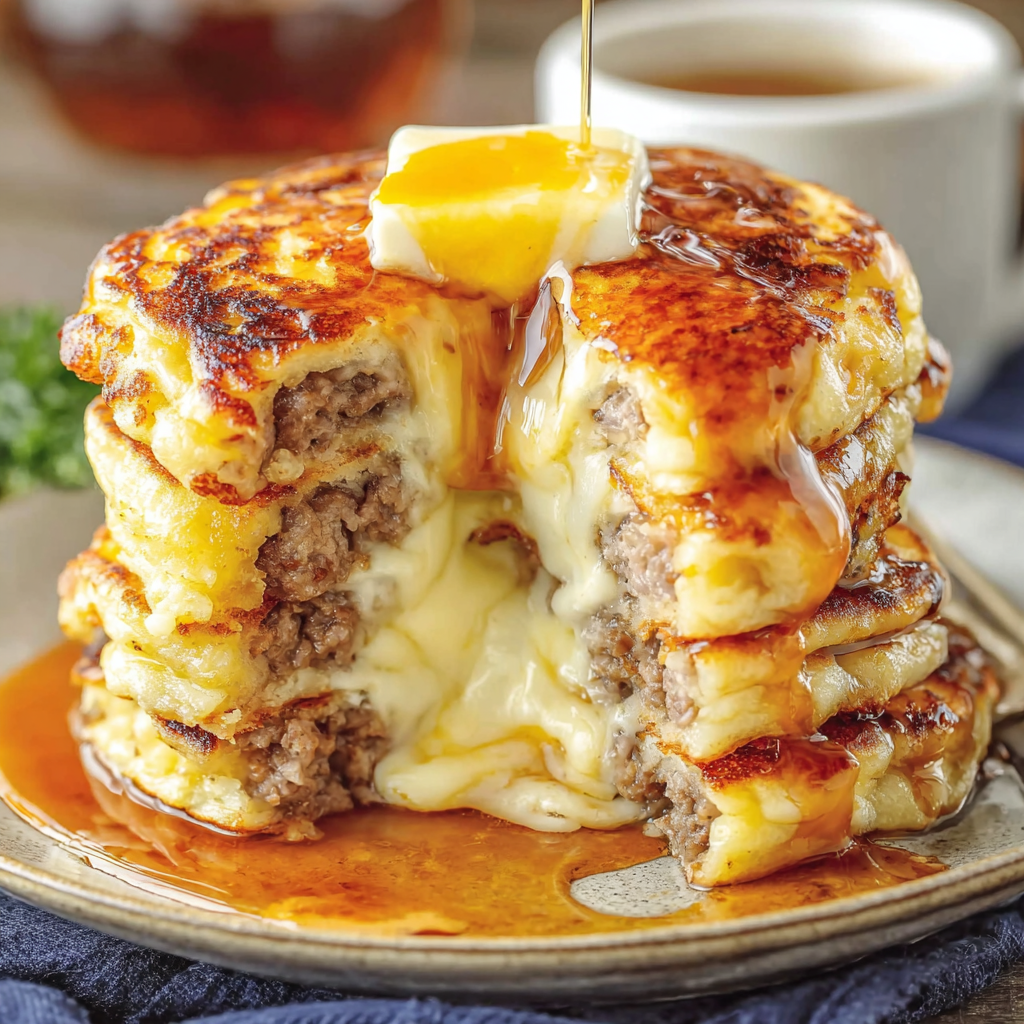
Juicy breakfast sausages wrapped in pillowy golden pancakes — a cozy, crowd-pleasing morning treat served with warm maple syrup and fresh berries.

Mozzarella sticks coated in crushed Doritos and fried until golden, crunchy, and irresistibly gooey — a crunchy, snackable twist on a classic favorite.
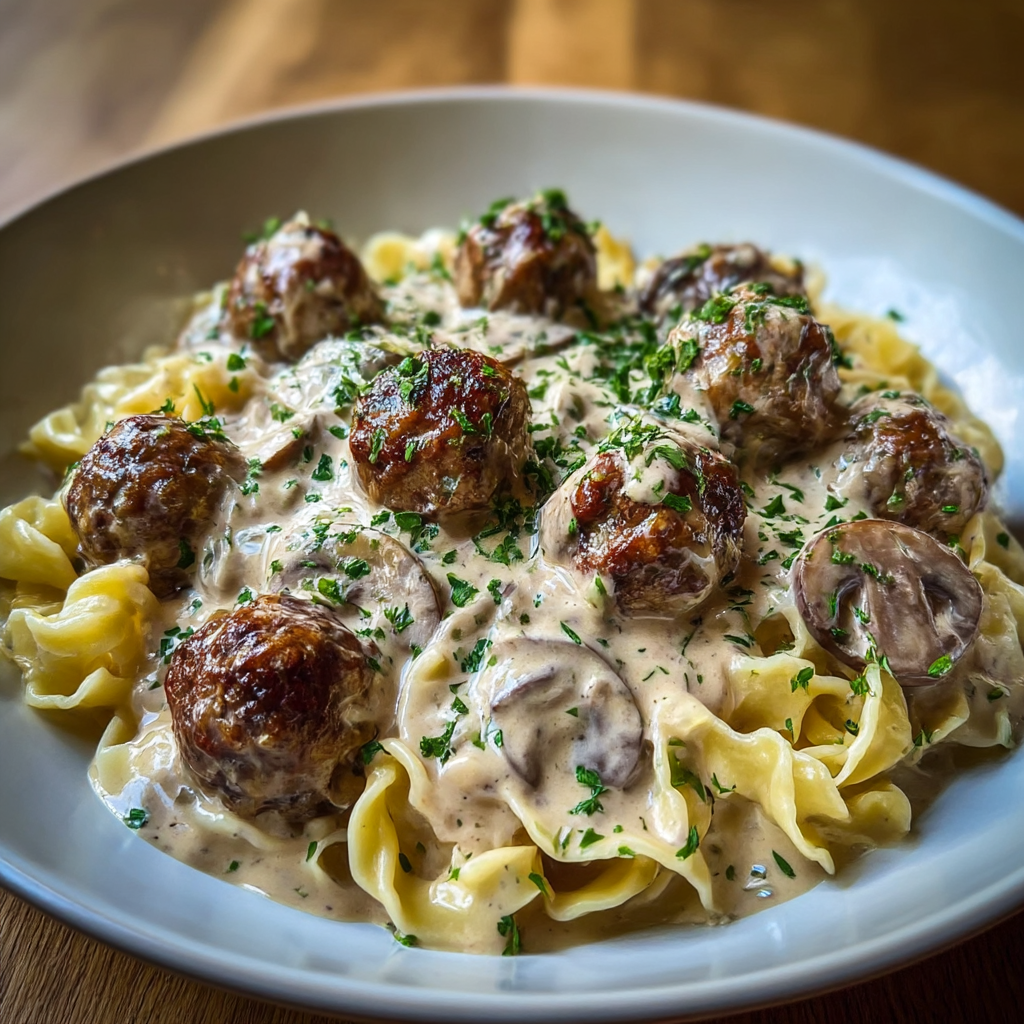
Juicy pan-seared meatballs simmered in a luscious mushroom and sour cream sauce — a comforting stovetop meal inspired by Eastern European flavors.
Leave a comment & rating below or tag @kitchenfunwithmysons on social media!
Enjoyed this recipe? Share it with friends and family, and don't forget to leave a review!
This recipe looks amazing! Can't wait to try it.
Comments are stored locally in your browser. Server comments are displayed alongside your local comments.
Quick and easy dinner ideas delivered to your inbox.