>>
30-MINUTE MEALS! Get the email series now →


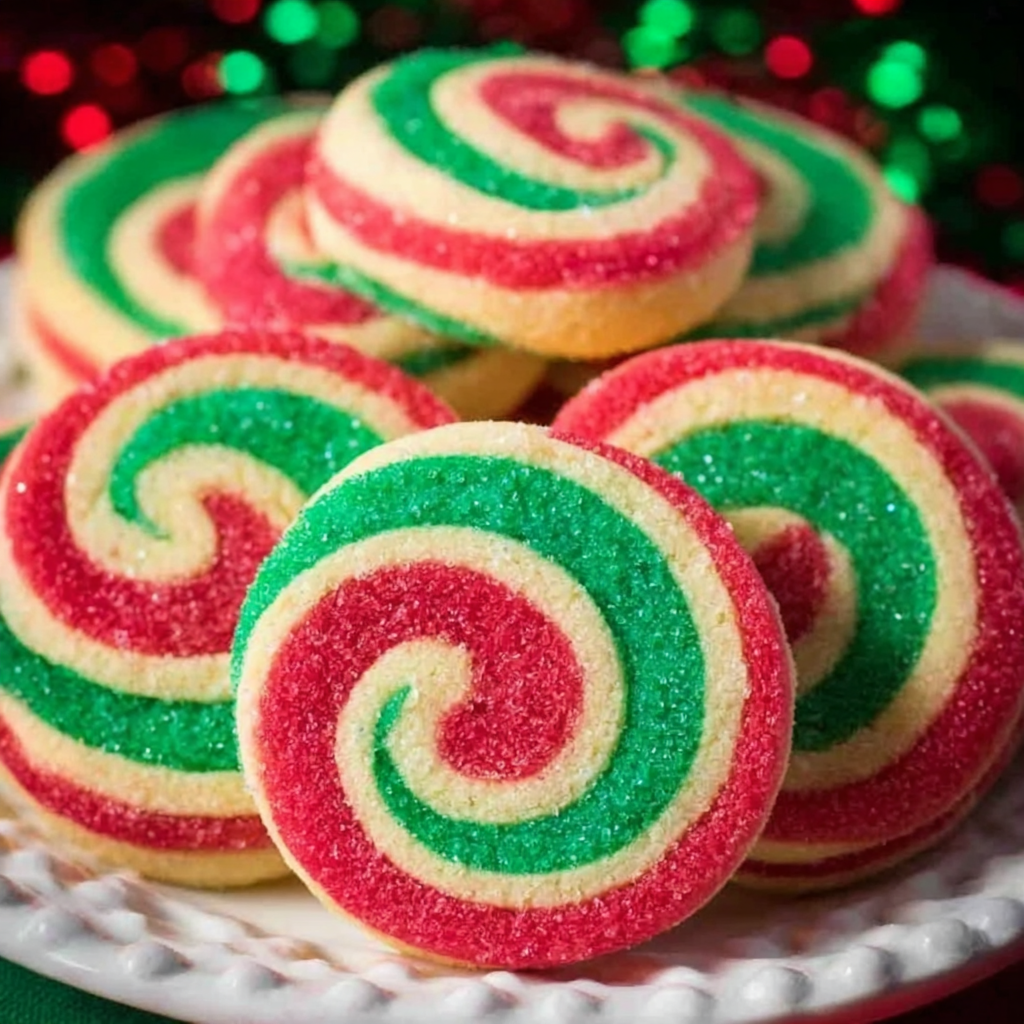
Festive red, white, and green spiral sugar cookies—crisp at the edges, tender inside, and decorated with sprinkles for the holidays.
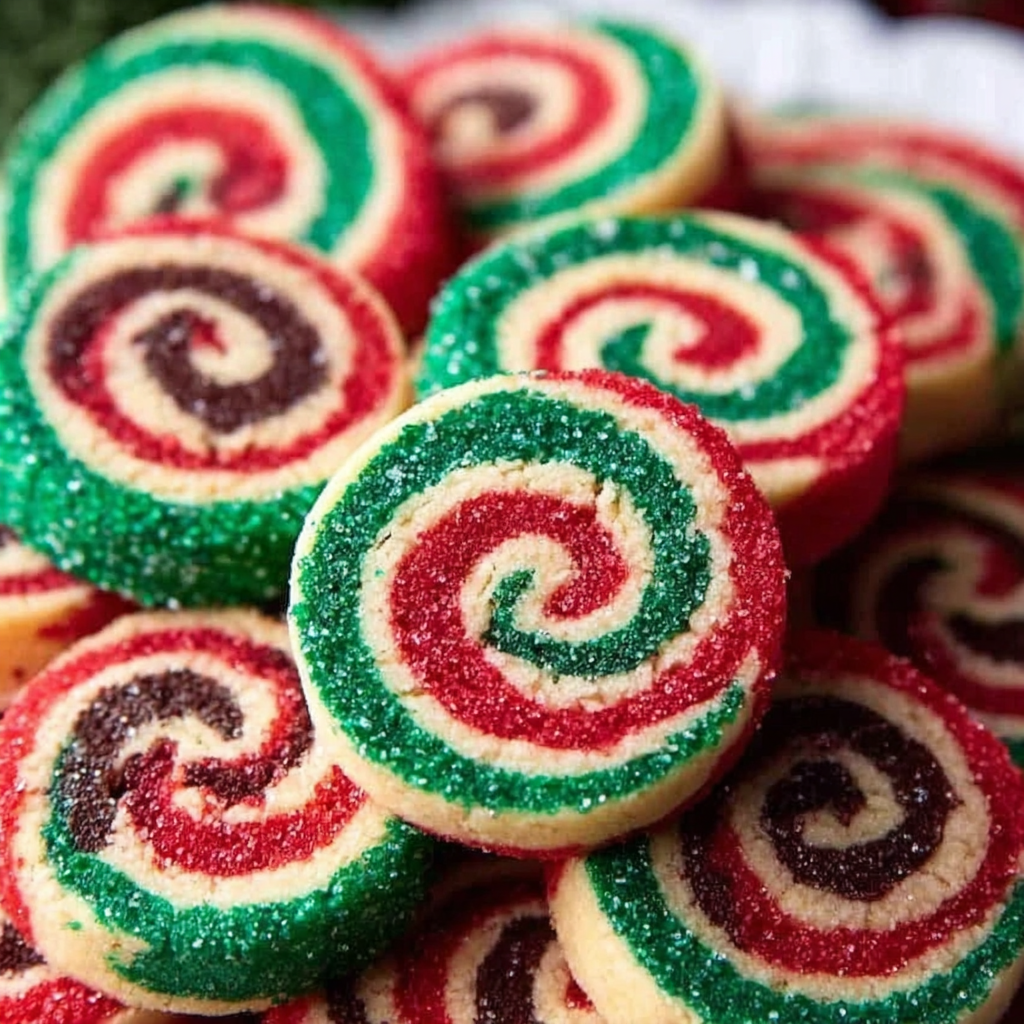
This recipe for Christmas Pinwheel Cookies has been a holiday staple in my kitchen for years. I first stumbled upon the idea while trying to make a special cookie for a neighborhood cookie swap: I wanted something visually festive that didn’t require intricate piping or dozens of ingredients. The spiral design is dramatic but surprisingly simple to produce. I discovered the combination one late November when I was experimenting with a basic sugar cookie dough and gel food coloring. The result—red, white, and green spirals with a tender center and crisp edges—wowed everyone and quickly earned a permanent place in my holiday baking rotation.
What makes these cookies special is the contrast of textures and the show-stopping presentation. When baked correctly they have a lightly crunchy rim and a soft, buttery interior that melts on the tongue. The sprinkles around the outside add a festive crunch and catch the light on the tree-side table. I remember bringing a tray to my in-laws’ first holiday together and watching the children point and squeal at the swirls before anyone even tasted them. They’re beautiful, reliable, and forgiving—perfect for baking with older kids or making ahead for a party.
From my experience, the most common success comes from avoiding over-flouring during the rolling step and chilling the log long enough to slice cleanly. My family always asks for these at every holiday gathering: the design is almost as important as the taste. When I bring them to parties, people invariably ask for the secret—there isn’t one, just patience and a chilled dough log.

My favorite part is slicing chilled logs: the clean, identical rounds feel almost like a craft project. I often make one log plain and another covered in sprinkles so guests can choose. For cookie exchanges I transport the logs frozen and slice fresh at my destination to keep the edges crisp and pretty.
Store cooled cookies in an airtight container at room temperature for up to 4–5 days. If stacking, separate layers with parchment to prevent sticking. For longer storage, freeze unbaked logs tightly wrapped in plastic and then foil for up to 3 months; thaw in the refrigerator before slicing. Baked cookies can be frozen as well—flash-freeze on a tray, then transfer to a sealed bag, and revive in a 300°F oven for 4–6 minutes to refresh crunch.
Swap unsalted butter for salted if that’s all you have; reduce added salt slightly. For a chocolate stripe, replace one third of the dough with a cocoa variation—stir 2 tablespoons cocoa powder into one portion and increase liquid by a teaspoon if the dough tightens. If you need an egg-free version, try a commercial egg replacer recommended for cookies, but expect a slightly crumblier texture. Gel colorings are preferred; liquid color can thin the dough and make rolling stickier.
Serve on a festive platter with other holiday cookies like thumbprints and ginger snaps for contrast. These pair beautifully with hot cocoa, mulled cider, or a simple black tea. Garnish with fresh rosemary sprigs to evoke evergreen and add a fragrant touch for a cookie plate presentation.
Spiral or pinwheel cookies have roots in classic European decorative baking where visual drama mattered as much as flavor for celebrations. Modern versions evolved in American home baking as gel colors and modern sprinkles became widely available. Today they are synonymous with holiday cookie trays and community cookie swaps because of their celebratory look and approachable technique.
Adapt easily by changing colors: orange and black for Halloween, pastels for spring, or red-white-blue for national holidays. Swap sprinkles for chopped toasted nuts or coconut in autumn, or add citrus zest (1 teaspoon) to brighten summer batches. For Valentine’s, use red and pink swirls and heart-shaped sprinkles on the exterior.
Make several logs and freeze them—they’re excellent for quick gifting and last-minute trays. Label logs with date and color scheme. When prepping for an event, bake the day before and store in airtight tins—cookies actually firm and develop flavor overnight. For large batches, assemble logs on a parchment-lined board and refrigerate in stacks to save space.
These cookies are a joyful, tactile way to celebrate the holidays. With a bit of chilling and careful slicing you’ll achieve bakery-worthy swirls that taste as good as they look. Try them once and you’ll likely add them to your holiday must-bake list.
Chill the log thoroughly before slicing to avoid smearing the spiral pattern.
Use gel food coloring for vibrant hues without altering dough consistency.
Roll dough between parchment to prevent sticking and avoid adding extra flour.
If dough softens, firm it in the refrigerator for 15–30 minutes before continuing.
This nourishing christmas pinwheel cookies recipe is sure to be a staple in your kitchen. Enjoy every moist, high protein slice — it is perfect for breakfast or as a wholesome snack any time.
Yes. Unbaked logs can be frozen for up to 3 months wrapped tightly; thaw in the refrigerator before slicing and baking.
Chill the log at least 45 minutes until firm; slice just under 1/2 inch for 30 cookies and bake 13–15 minutes at 350°F.
This Christmas Pinwheel Cookies recipe makes perfectly juicy, tender, and flavorful steak every time! Serve with potatoes and a side salad for an unforgettable dinner in under 30 minutes.
Whisk together 3 cups flour, 1 teaspoon baking powder, and 1/2 teaspoon salt until evenly mixed.
Beat 1 cup room-temperature unsalted butter and 1 1/4 cups sugar at medium speed for 2–3 minutes until light and fluffy.
On low speed add 1 large room-temperature egg and 2 teaspoons vanilla extract and mix until incorporated.
With mixer on low, add dry ingredients until a few streaks remain; finish folding with a spatula so dough remains soft but not sticky.
Divide dough into three equal portions; color two portions red and green using gel coloring, kneading briefly to distribute color.
Form each portion into a disc, wrap in plastic, and chill at least 45 minutes until firm.
Roll each chilled disc between parchment into 6 x 13 inch rectangles. Stack in order: green, white, red, then roll tightly into a log.
Brush the log lightly with diluted corn syrup and roll in 1 cup sprinkles so the exterior is covered; wrap and chill 45 minutes.
Preheat oven to 350°F. Slice log just under 1/2 inch thick, place on parchment-lined sheets, and bake 13–15 minutes until centers lose shine.
Cool on the baking sheet briefly then transfer to a rack. Store in an airtight container for 4–5 days or freeze unbaked logs up to 3 months.
Last Step: Please leave a rating and comment letting us know how you liked this recipe! This helps our business to thrive and continue providing free, high-quality recipes for you.
Leave a comment & rating below or tag
@kitchenfunwithmy3sons on social media!
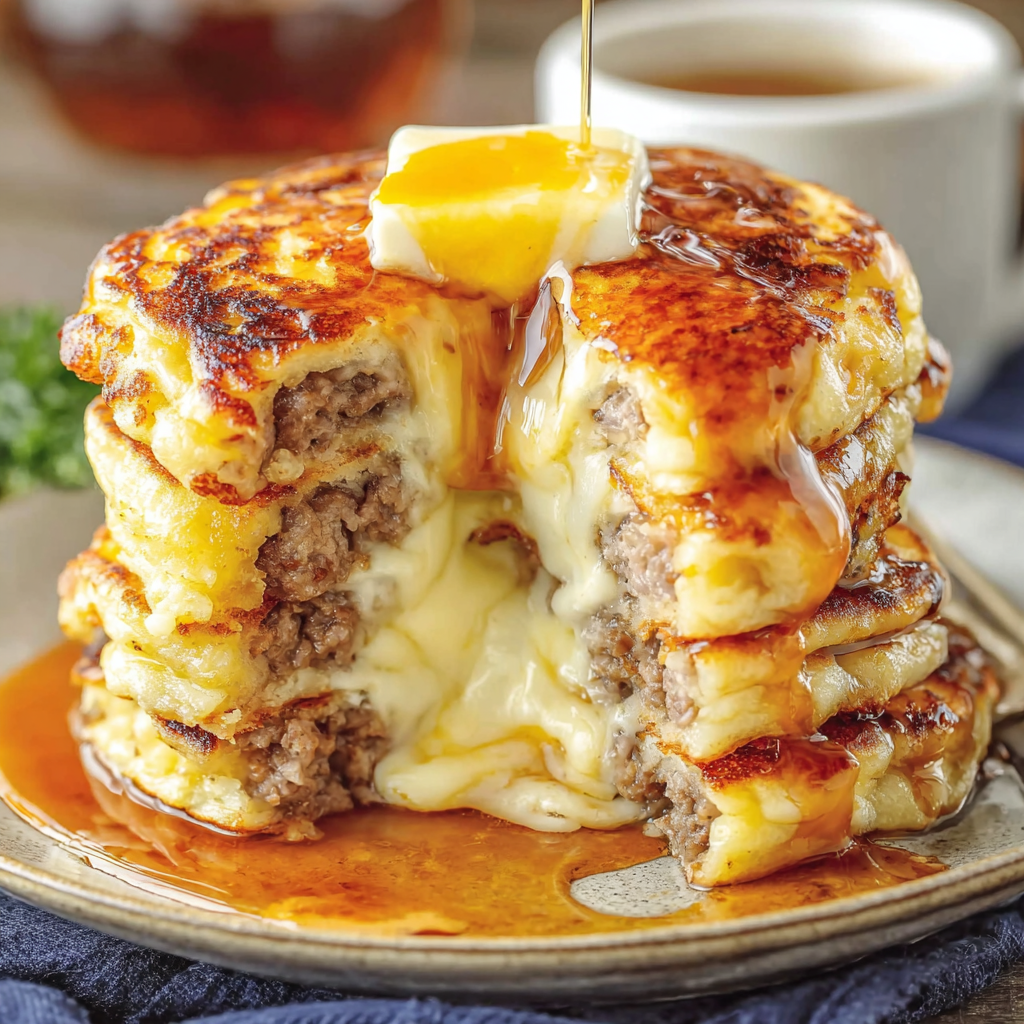
Juicy breakfast sausages wrapped in pillowy golden pancakes — a cozy, crowd-pleasing morning treat served with warm maple syrup and fresh berries.
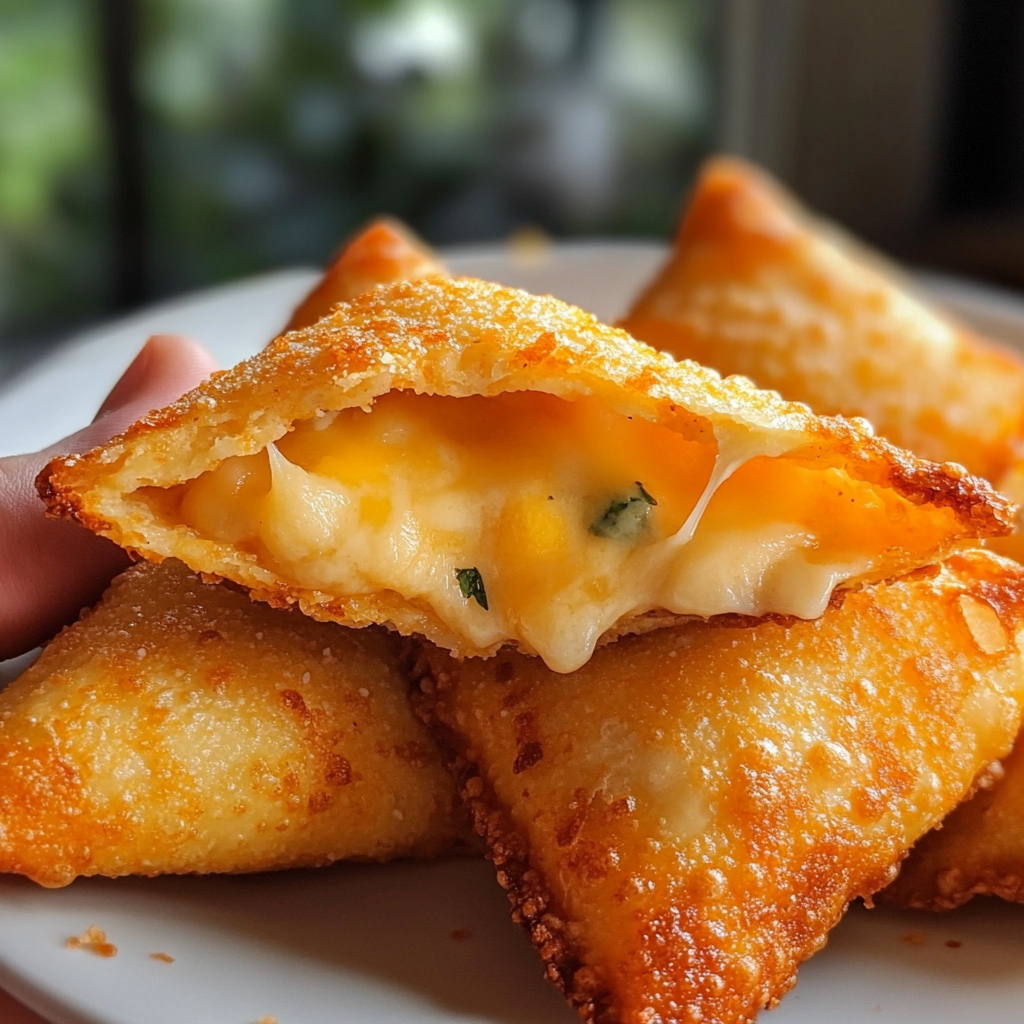
Mozzarella sticks coated in crushed Doritos and fried until golden, crunchy, and irresistibly gooey — a crunchy, snackable twist on a classic favorite.
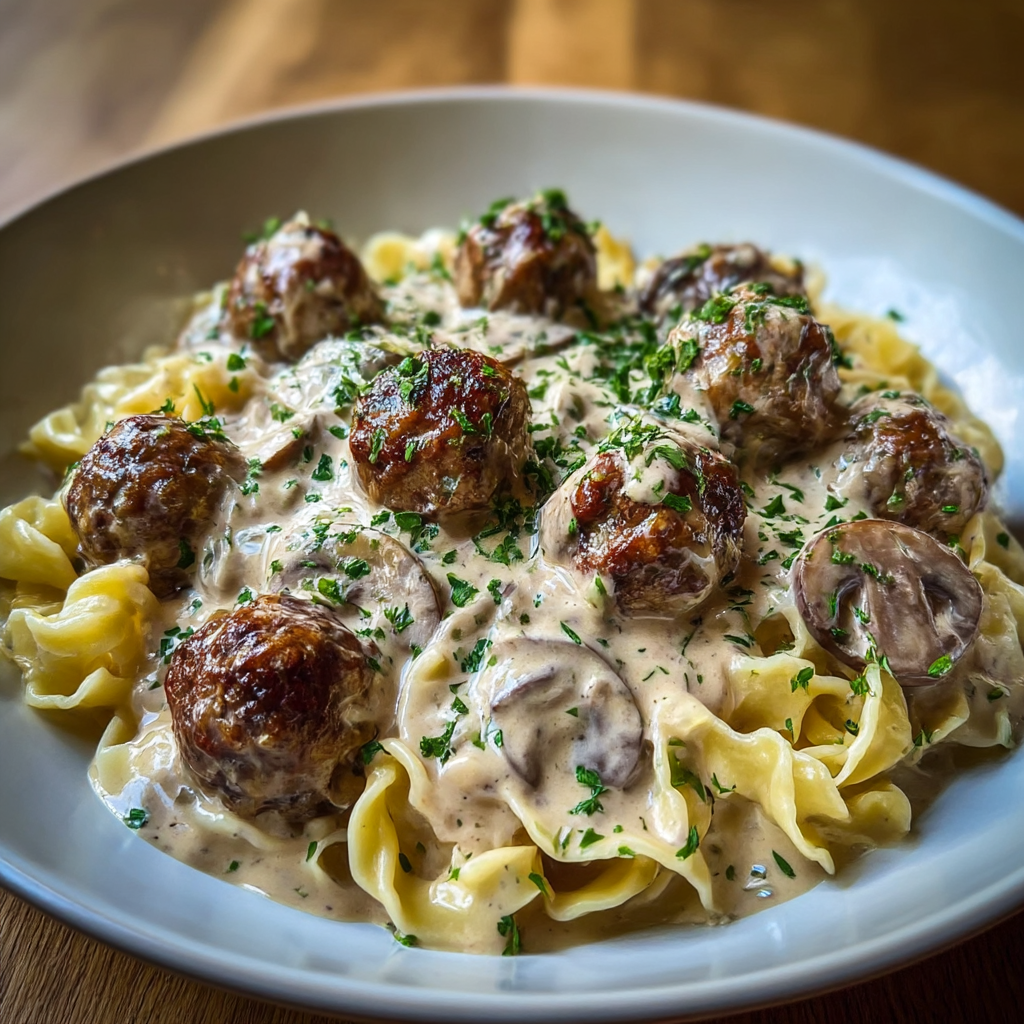
Juicy pan-seared meatballs simmered in a luscious mushroom and sour cream sauce — a comforting stovetop meal inspired by Eastern European flavors.
Leave a comment & rating below or tag @kitchenfunwithmysons on social media!
Enjoyed this recipe? Share it with friends and family, and don't forget to leave a review!
This recipe looks amazing! Can't wait to try it.
Comments are stored locally in your browser. Server comments are displayed alongside your local comments.
Quick and easy dinner ideas delivered to your inbox.