>>
30-MINUTE MEALS! Get the email series now →


Sweet, crunchy Butterfinger centers dipped in chocolate and topped with extra Butterfinger bits — irresistible bite-sized treats ready in 30 minutes.
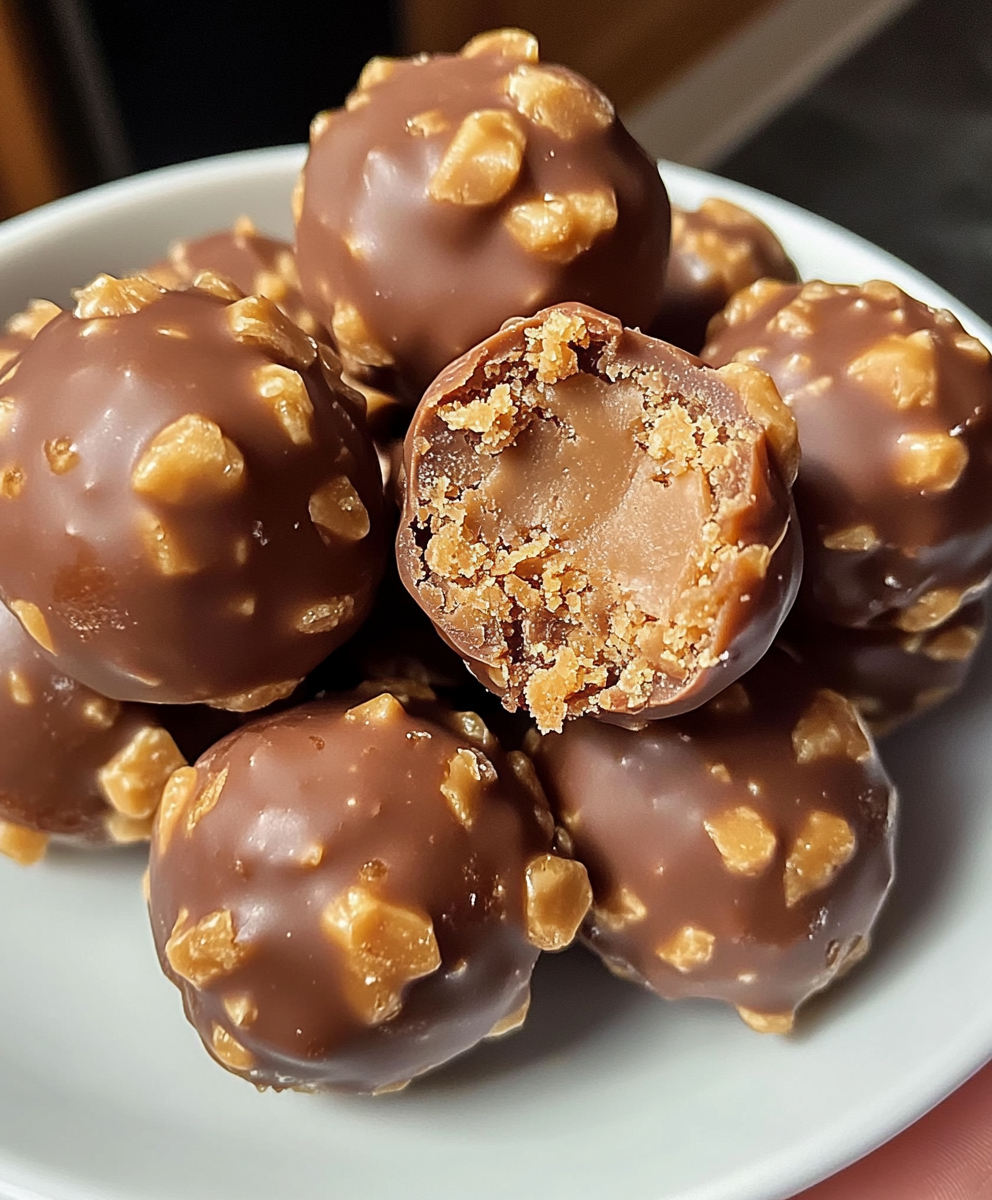
This recipe for Butterfinger Balls is one of those guilty-pleasure treats I first made for a holiday cookie exchange and kept because they vanished faster than any other confection on the table. I discovered the filling combination while experimenting with pantry staples and a bag of crushed candy — the mixture produced a creamy, slightly crunchy center that paired perfectly with a glossy chocolate coating. Because they're small and balanced between creamy peanut butter and crunchy Butterfinger fragments, they feel indulgent without being cloying. The first time my kids tried them, they demanded the recipe and declared them the best candy on the planet — a title they still fight over when I bring these to gatherings.
These bites are great for parties, gifting, or stashing in the freezer for a sweet pick-me-up. The texture contrast is what makes them special: a soft, peanut-buttery core with tiny shards of Butterfinger for a light crunch, all wrapped in a smooth chocolate shell. They’re forgiving to make, require only five main ingredients, and can be prepared ahead of time. If you like a quick, nostalgic candy with big flavor and minimal fuss, these will become a repeat favorite in your repertoire.
I always bring a tray of these to neighborhood potlucks because they disappear fast. One memorable afternoon, my neighbor tasted one and told me it reminded her of the candy bars she loved as a kid. It’s moments like that — sharing a flavor memory — that make these tiny confections so rewarding to make.
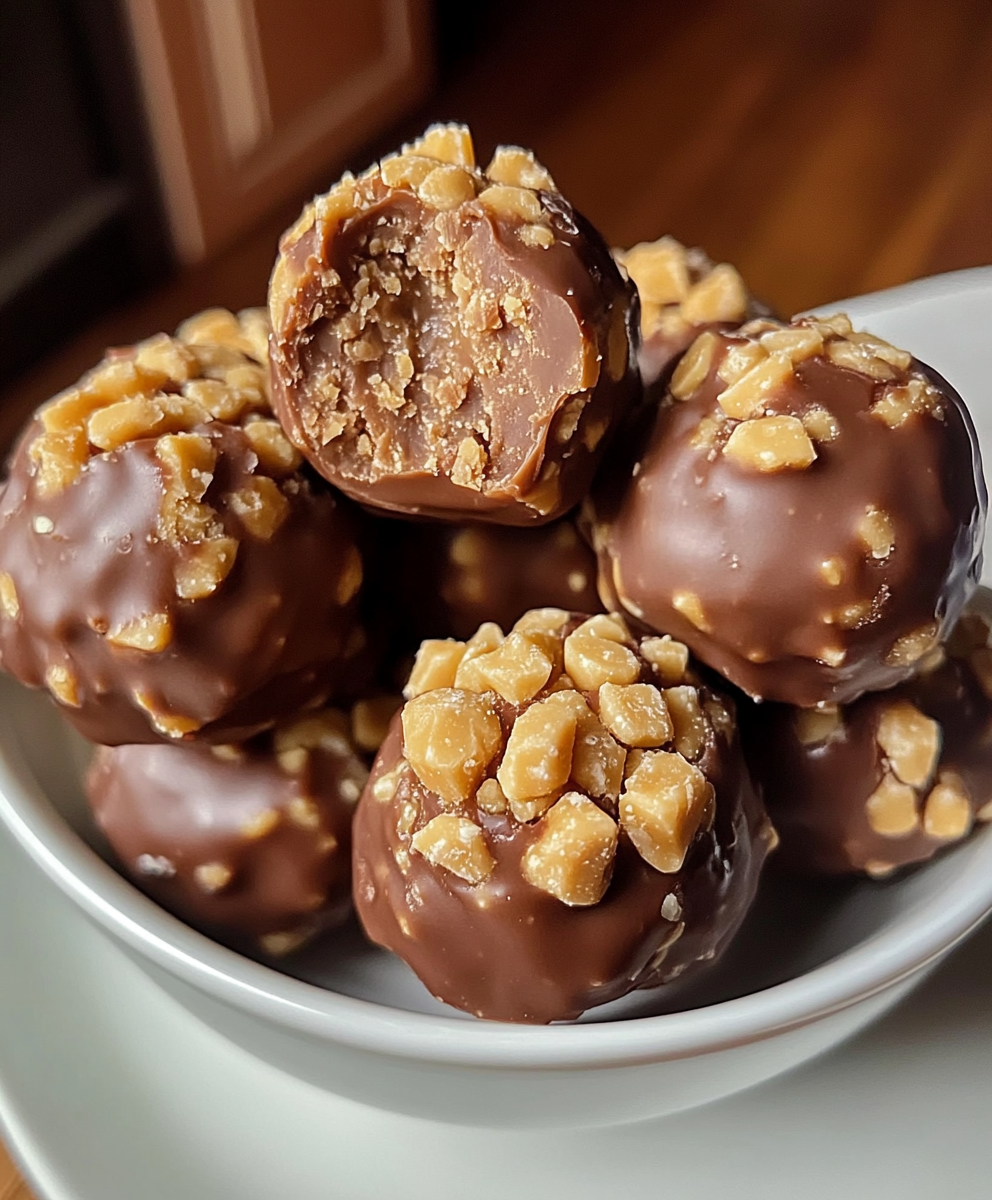
My favorite part is how portable and giftable they are — a box of these always travels well to potlucks and makes a welcome homemade present. The crunch of the Butterfinger pieces contrasts beautifully with the silky chocolate exterior, and family members who usually avoid overly sweet desserts often come back for seconds. I learned early on to keep a little extra candy for topping because presentation matters when you’re delivering a tray to friends.
Store cooled pieces in a single layer in an airtight container in the refrigerator for up to 7 days. If stacking, separate layers with parchment to avoid sticking. For longer storage, freeze flat on a baking sheet until solid, then transfer to a freezer bag and remove as much air as possible; frozen balls keep well for up to 3 months. To serve, thaw in the refrigerator for an hour or at room temperature for 15–20 minutes. Avoid leaving them at warm room temperature for extended periods as the chocolate may soften and the filling can become oily.
For a different nut profile, swap peanut butter for almond butter, noting the flavor and oil content will change; use a brand with a similar creamy consistency. If you need dairy-free, choose vegan butter and dairy-free chocolate wafers — texture will be slightly different but still delicious. To reduce sweetness, cut powdered sugar by 1/4 cup and replace with an equal weight of oat flour for structure, though the centers will be denser. If you can’t find Butterfinger Bits, crush up a similar toffee candy or use crushed heath bars for a comparable texture.
Present these on a simple white platter with a sprinkle of extra Butterfinger Bits and a few fresh raspberries for a pop of color. They pair beautifully with strong coffee or a rich hot chocolate. For holiday booths or bake sales, package in small cellophane bags tied with ribbon. If serving at a party, place toothpicks in each ball for easy handling. These also make an elegant finish to a casual dinner — serve two to three per person alongside a light dessert wine or espresso.
These treats are a modern American mash-up inspired by candy-bar flavors and classic no-bake confections. Butterfinger candy itself has been manufactured in the U.S. since the 1920s and is known for its flaky, crunchy center. Combining candy fragments with a peanut-butter base echoes the tradition of mixing beloved candy into homemade confections, a technique popular in American home baking for creating personalized, nostalgic sweets.
Make these festive by mixing in seasonal candy: swap Butterfinger for crushed peppermint bark at the holidays, or use mini peanut-butter cups and dust with edible gold for a New Year’s platter. In summer, dip only halfway and drizzle with white chocolate to create a lighter presentation. For Halloween, add orange-colored sprinkles or use milk chocolate with a few drops of orange oil for a themed twist.
Prepare the centers up to 2 days in advance and keep refrigerated until ready to freeze-and-dip; this streamlines the dipping process. Work in small batches when melting chocolate to avoid overheating, and keep extra melted chocolate warm in a double boiler over very low heat if you have many pieces to coat. Use a medium cookie scoop for uniform sizes so all pieces set in the same amount of time. Label frozen batches with the date so you can rotate through your stash efficiently.
These Butterfinger Balls are a small, joyful piece of nostalgia that’s easy to make and even easier to love. Whether you’re gifting them, adding them to a dessert table, or keeping a secret stash in the freezer, they bring a bright, crunchy bite of candy-bar magic to any occasion. Make a double batch — you’ll be glad you did.
Chill the filling for 30 minutes so it rolls easily without sticking to your hands.
Freeze balls only 20–30 minutes before dipping to avoid sweating and cracking during coating.
Add 1/2 teaspoon coconut oil per cup of chocolate chips to improve melt and shine.
Use a medium cookie scoop for uniform sizing so all pieces set evenly.
Sprinkle extra Butterfinger Bits onto the chocolate while it’s still wet for best adhesion.
This nourishing butterfinger balls recipe is sure to be a staple in your kitchen. Enjoy every moist, high protein slice — it is perfect for breakfast or as a wholesome snack any time.
Yes. Store in an airtight container in the refrigerator for up to 7 days or freeze for up to 3 months.
Use creamy store-bought peanut butter. All-natural styles with separated oil may alter texture and firmness.
Yes. Use chocolate chips melted with 1/2 teaspoon coconut oil per cup for a smoother coating.
This Butterfinger Balls recipe makes perfectly juicy, tender, and flavorful steak every time! Serve with potatoes and a side salad for an unforgettable dinner in under 30 minutes.
In a large bowl or stand mixer, cream together the creamy peanut butter, softened salted butter, and vanilla for about 30 seconds until smooth.
Sift in the powdered sugar and beat on low until a cohesive dough forms; scrape the bowl as needed to ensure even mixing.
Stir in 1 1/2 cups of Butterfinger Bits by hand to keep pieces intact and distributed evenly throughout the filling.
Cover and refrigerate the mixture for 30 minutes to firm it up for scooping and rolling.
Portion with a medium cookie scoop, roll into balls, place on parchment, and freeze for 20–30 minutes until quite firm.
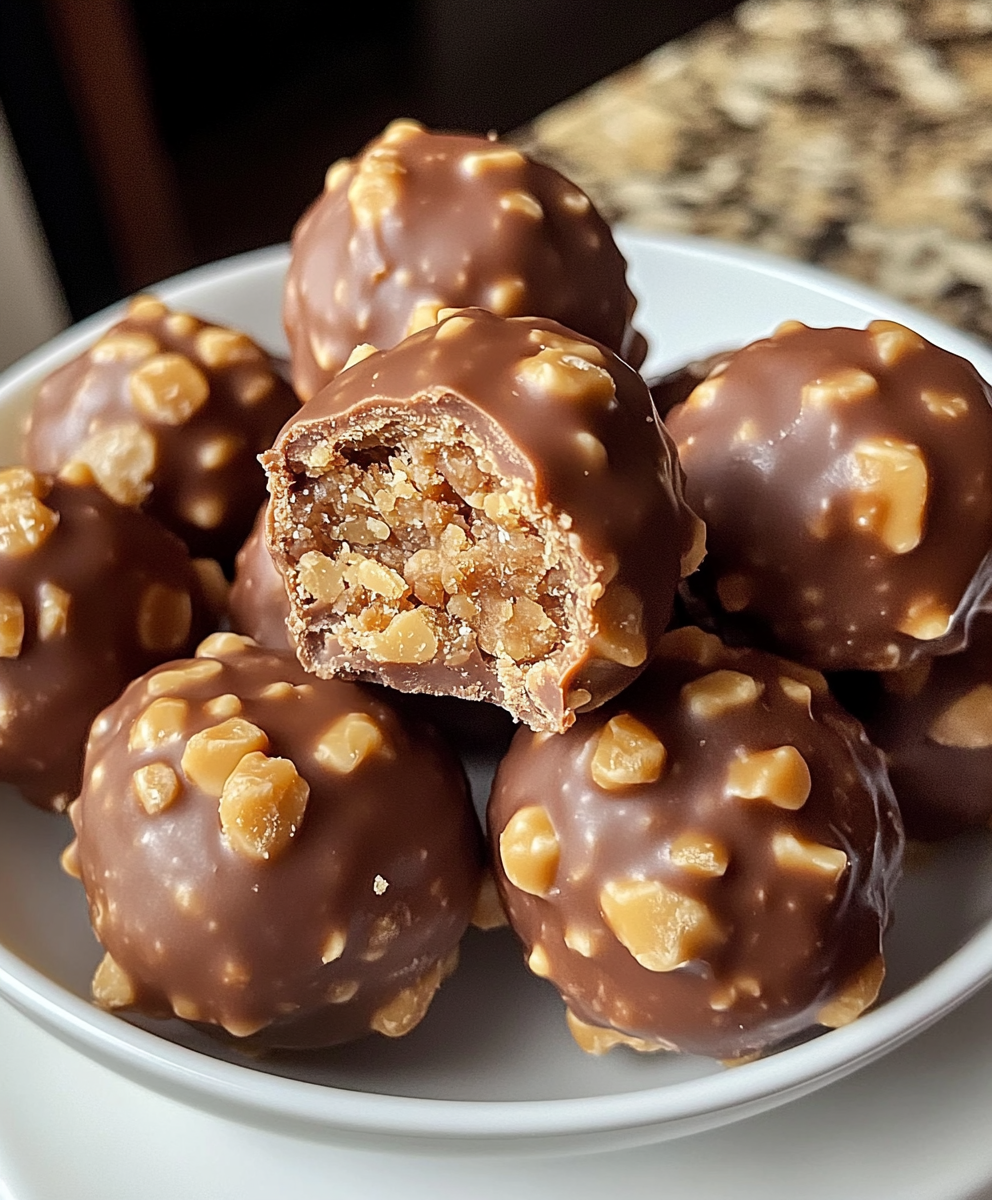
Melt chocolate wafers in 30-second intervals stirring each time. Dip frozen balls with a fork, tap off excess, and return to parchment.
Sprinkle additional Butterfinger Bits onto the wet chocolate and allow to set at room temperature or chill briefly until firm.
Last Step: Please leave a rating and comment letting us know how you liked this recipe! This helps our business to thrive and continue providing free, high-quality recipes for you.
Leave a comment & rating below or tag
@kitchenfunwithmy3sons on social media!
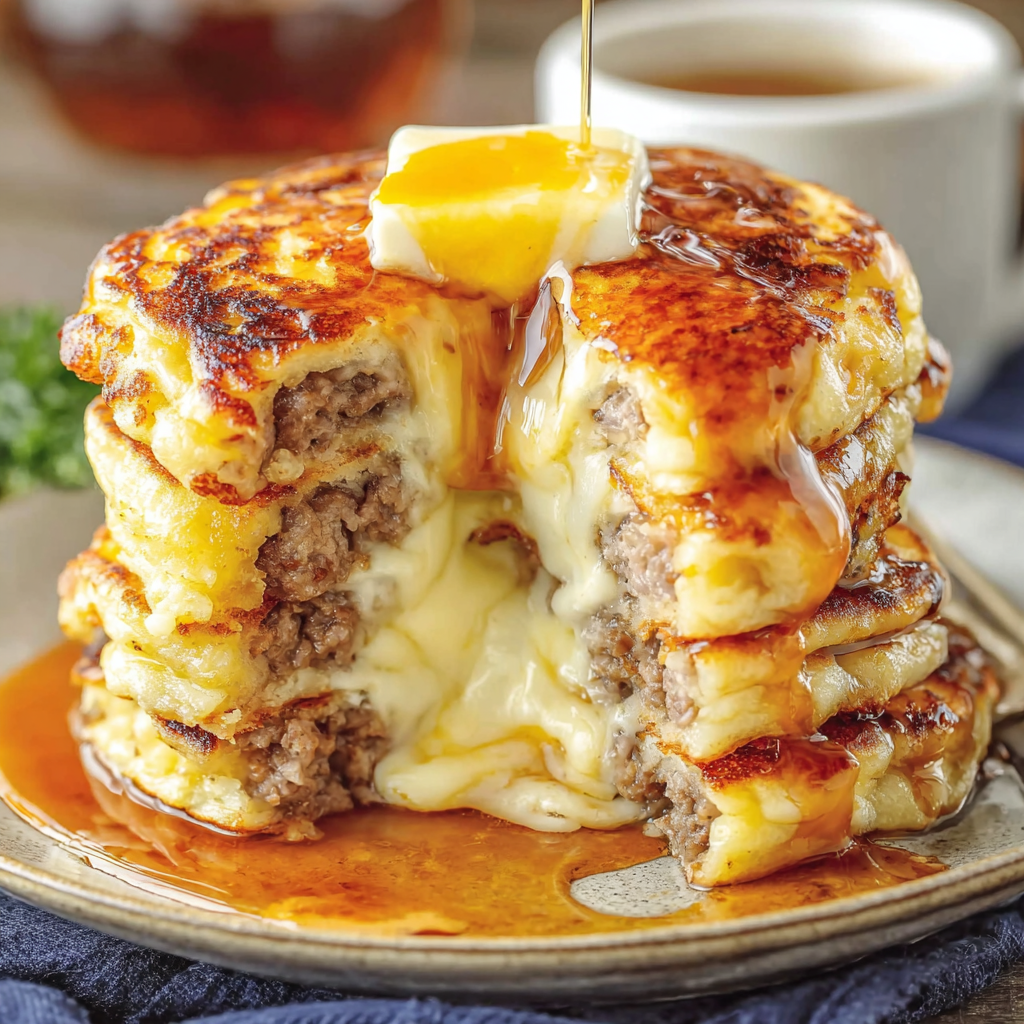
Juicy breakfast sausages wrapped in pillowy golden pancakes — a cozy, crowd-pleasing morning treat served with warm maple syrup and fresh berries.
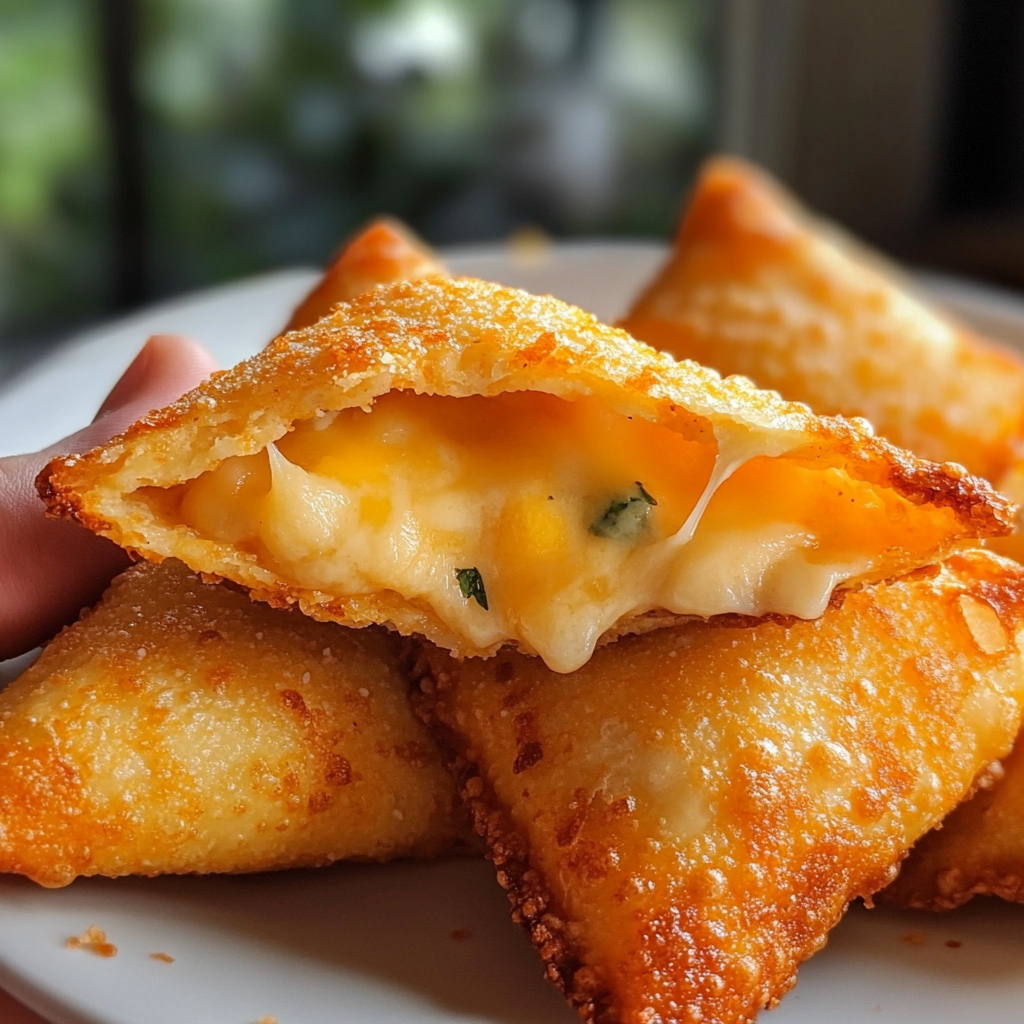
Mozzarella sticks coated in crushed Doritos and fried until golden, crunchy, and irresistibly gooey — a crunchy, snackable twist on a classic favorite.
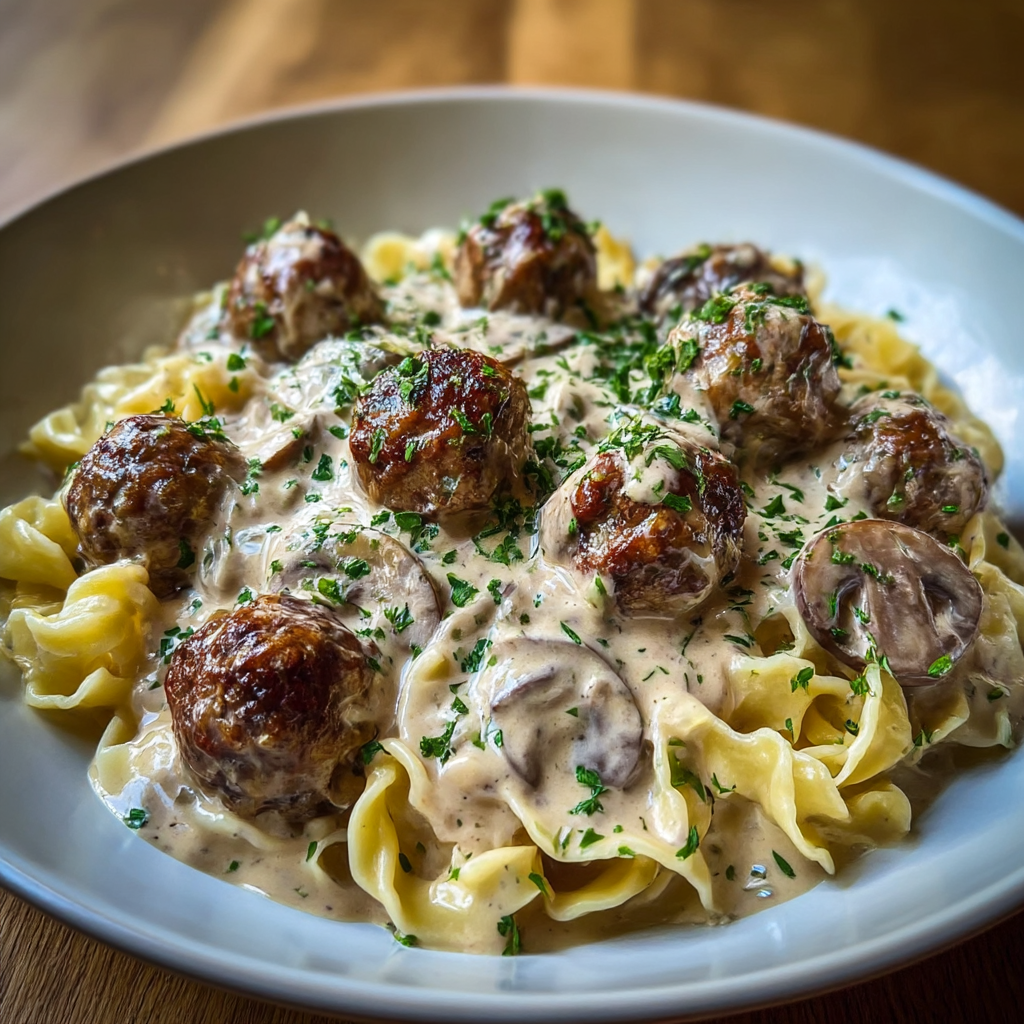
Juicy pan-seared meatballs simmered in a luscious mushroom and sour cream sauce — a comforting stovetop meal inspired by Eastern European flavors.
Leave a comment & rating below or tag @kitchenfunwithmysons on social media!
Enjoyed this recipe? Share it with friends and family, and don't forget to leave a review!
This recipe looks amazing! Can't wait to try it.
Comments are stored locally in your browser. Server comments are displayed alongside your local comments.
Quick and easy dinner ideas delivered to your inbox.